

Whether you are a new homesteader, old – sorry, experienced – homesteader, or wannabe homesteader, this article is going to be a great read. You know the old saying “You can’t teach an old dog a new trick”? Well… you will learn some new tricks, hacks, and tips from an old dog.
As the years have gone by, I have learned all kinds of ways to do things quicker, cheaper, and with less effort. In my experience, homesteaders are a very creative breed of self-sufficient people.
Every homesteader you know will have their own way of getting the job done. Between my own experience and the experience of the friends who helped guide me on my path to self-sufficiency, this article will help you save time, money, and effort.
General Tips
Start Small
If you start small and fail, you will not have lost as much as you would have if you went straight to your dream for your large-scale homestead.
Prove to yourself that you can do whatever you are hoping for, whether that means keeping chickens, a vegetable garden, or raising livestock for slaughter before you spend too much money.
Set realistic goals for the following 6 months to a year to achieve. Don’t start anything new until you achieve your goal.
Don’t Be Afraid to Monetize Your Homestead
Homesteading can be a very expensive prospect if you are not careful. Avoid going into debt!! You do not want to keep throwing money at something that is not working.
This really goes hand in hand with starting small. Prove to yourself that you know what you are doing on a small scale and grow that project over time.
You should always have profit in mind. Ultimately you want your homestead and lifestyle to pay for itself. As soon as possible look at items that will bring in money.
You will be surprised at how much money you can bring in selling eggs, vegetables, and canned goods at farmers markets.
You can also fund your homestead by earning money off of hobbies that you can sell at markets like art, pottery, or making candles.
Keep your initial investment as low as possible and grow your land as it begins to generate money.
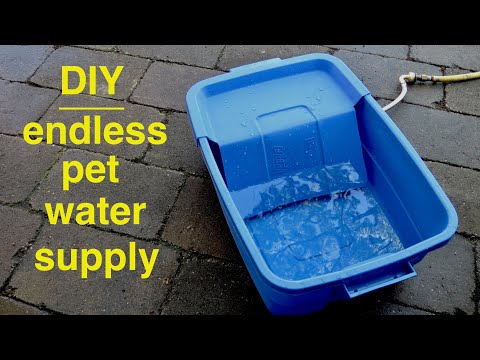
Make Your Own Self Filling Water Bowl for Your Dogs
Arguing with your kids about filling the dog’s water bowl is an endless, frustrating cycle.
Making your own water bowl that fills the water automatically is a great way to reduce time, effort, and pulling your hair out in frustration with the kids.
It is also surprisingly quick, cheap, and easy to make. I am attaching a link to one of the easiest automatic water bowls to make and is very inexpensive to make and maintain.
You can also Repurpose an old kitchen sink to make your own self filling water bowl.
How to Remove Skunk Smell from Clothing
I think we have all been there; we are happily working or just out for a walk when we suddenly find ourselves nose to butt with a startled skunk.
Getting rid of the smell is really simple; use washing powder and ½ a cup of baking soda – the baking soda will neutralize the smell – and wash the item thoroughly.
Do not dry the clothing in a dryer. Rather let the clothing dry in the open air. The open air will make sure that any remaining smell is dissipated.
Don’t Try to Do Everything on Your Own
Most of us homestead because we want to preserve a simple way of living where we are not dependent on industries to sustain our families.
Recruit your kids to help out with age-appropriate tasks. That way you are teaching them the skills they will need to survive off the grid.
DIY Fly Trap
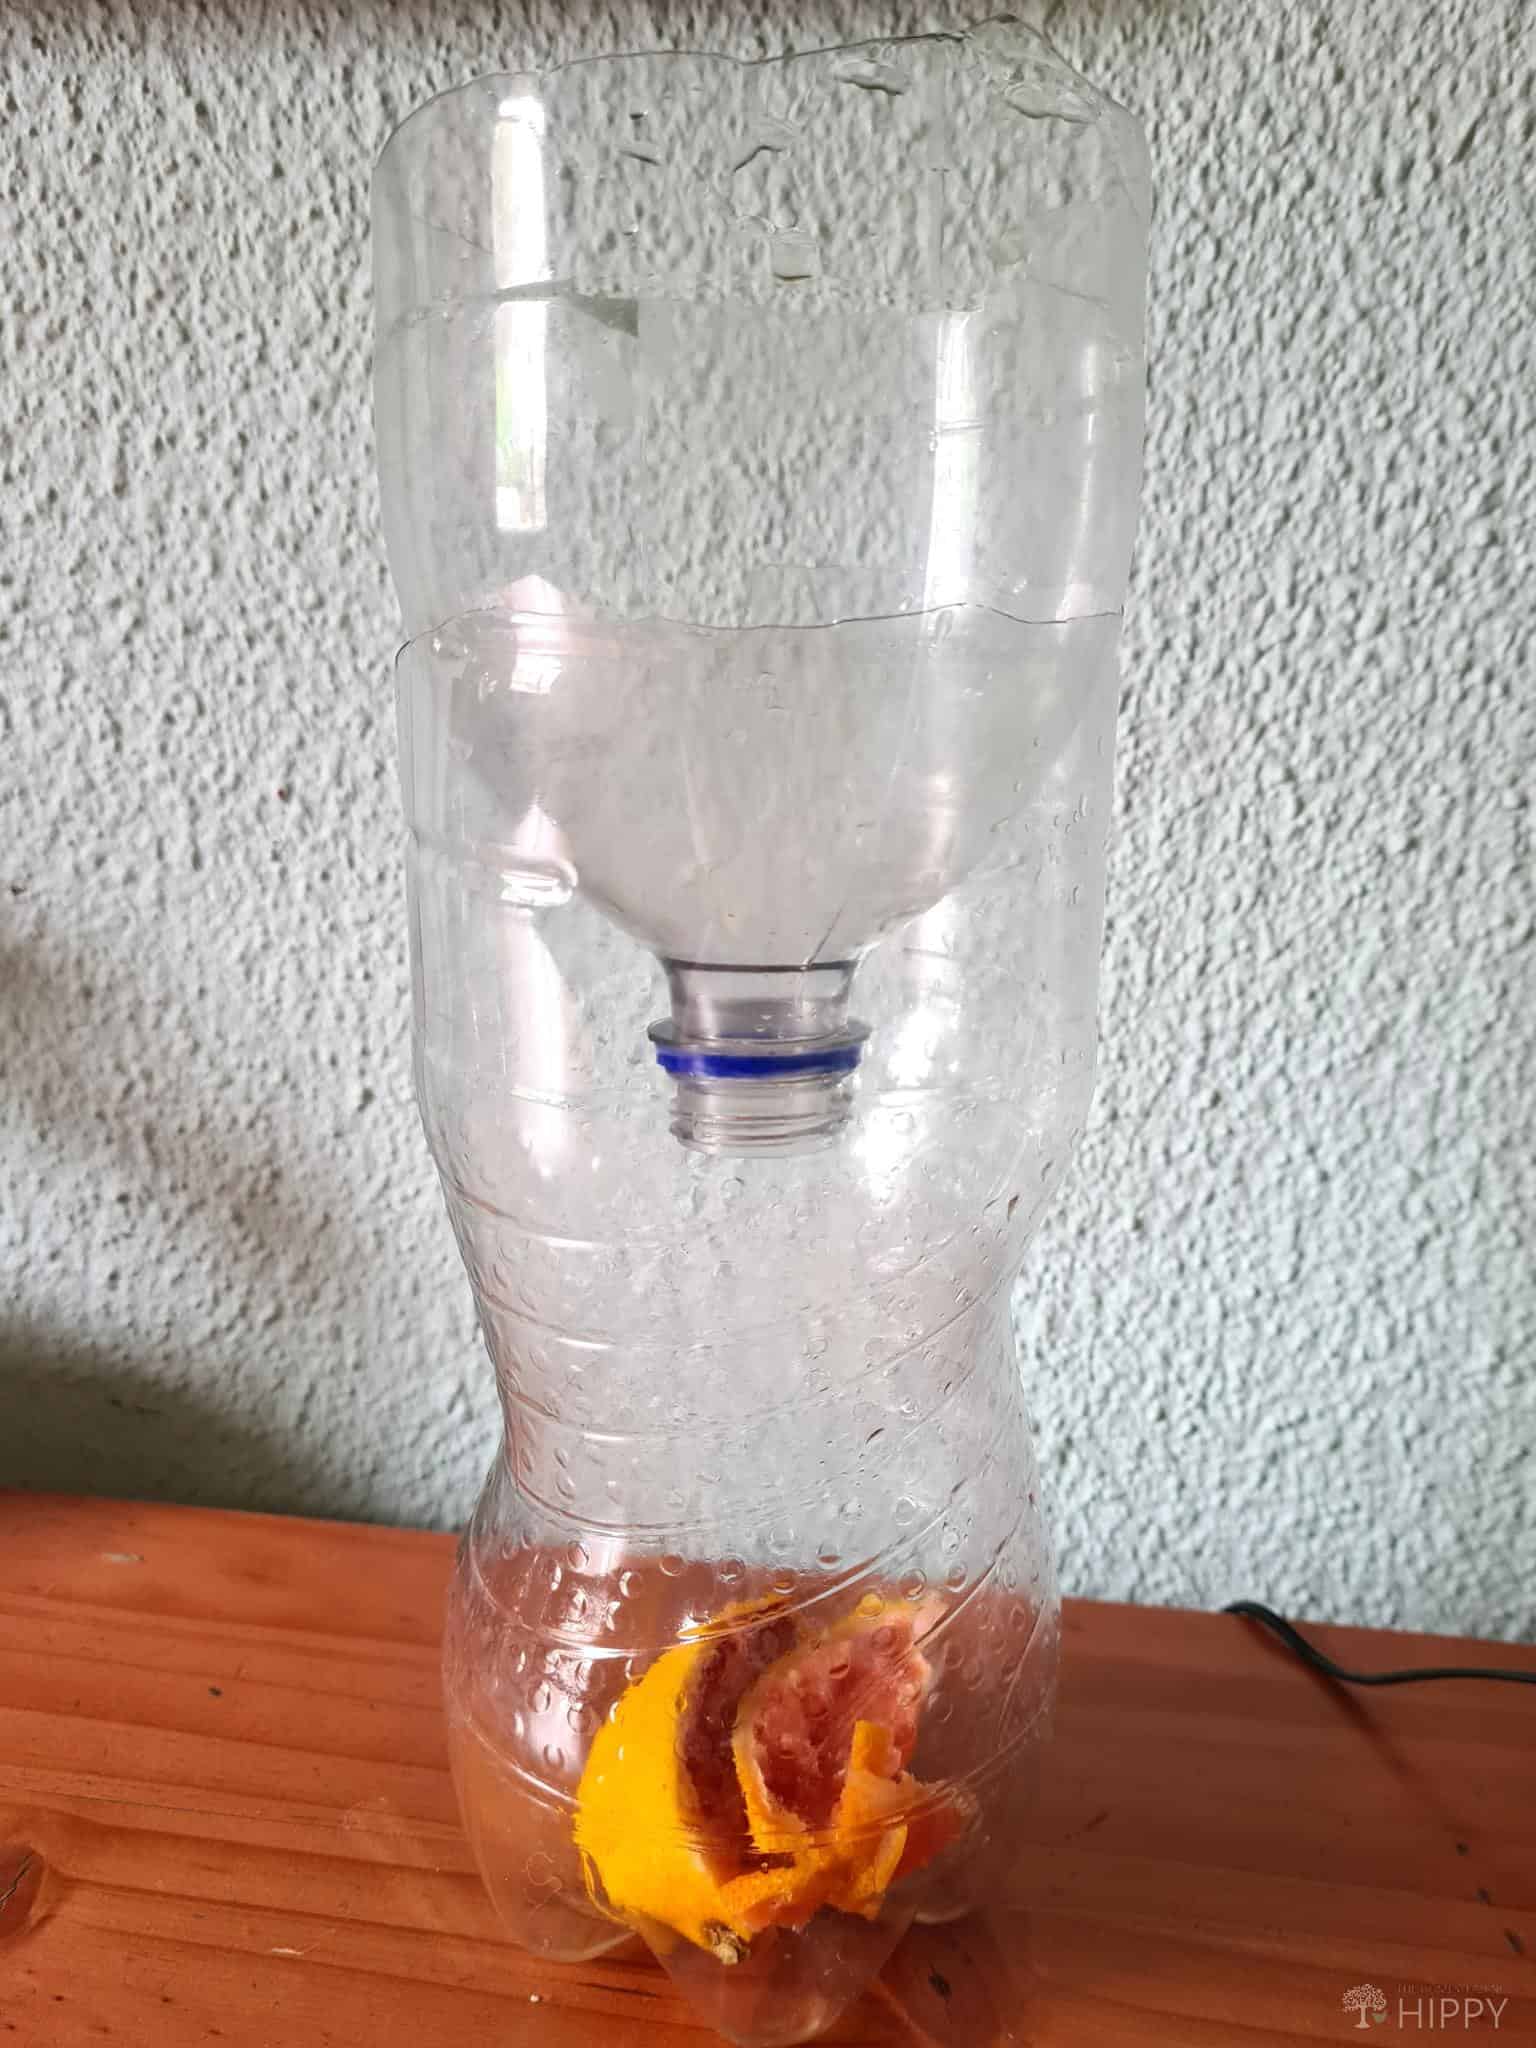
Homesteading and flies unfortunately go hand in hand. Use this easy method to make your own effective fly traps.
All you need is an empty soda bottle and fruit or flavored sugar water. Cut the upper portion of the bottle off of the base, place your bait in the bottom half and place the upper portion of the bottle inverted in the base.
Flies get in but cannot get out. You will need to empty the trap regularly and replace the bait. The trap will start smelling bad as more and more flies decompose.
Forget Perfection
Don’t focus on looks. You will patch things together over time. Think about the position of specific areas that will be good for specific tasks.
Keep ducks or livestock near water, if you are anything like me, you will be in your vegetable garden every day.
So, keep the garden close to home. Stinky animals that attract flies should be as far as possible from the house.
Be Flexible
I wish I could tell you everything will work perfectly, but I would be lying to you. Things go wrong.
Goats find their way into vegetable gardens, livestock deliver babies at ungodly times, chickens will find good hiding spots for nests, and you will only find out when you see a bunch of chicks following their sneaky mom.
Things will happen that you will have no control over. Learn to laugh it off. Stress is why you are a homesteader. Remember what life in the rat race was like and take a deep breath, what your animals are up to is nowhere near as stressful as life in the fast lane.
Learn to DIY
You will be amazed how much money you can save by building items yourself rather than purchasing them ready made. Build your own beehives, chicken nests, feeders, chick brooder boxes, Dutch oven for baking bread, etc.
Make Tools on the Fly
If you need a knife in the fields, you don’t need to go all the way home to fetch one. You can make one caveman style by sharpening a rock edge. Rocks also make pretty efficient hammers and chisels.
Learn to Improvise
Homesteaders are often panic buyers; they discover a job that requires a tool or machine that costs a fortune, and they rush out and buy it anyway because they do not see any alternative. Before you rush off and spend your hard-earned money, take a step back.
Evaluate the problem, go into your shed and take stock of what you have available. 9 times out of 10 you will find a creative way to use what you have to do the job just as well as any expensive tool.
Keep Your Tools Clean
Dirt and moisture can be the enemy of all your tools. Take a moment after each use to clean and dry the tools you are using and store them properly in a shed that is clean and dry. A stitch in time saves nine; a stitch in time can also save a lot of money!
Collect Sawdust from Woodwork Shops
Sawdust is easy to get and is used in a million ways around a homestead. From livestock barns, to gardening, to nests for your chickens and ducks, sawdust is always in demand.
Build a good relationship with local woodworkers and foresters and barter a trade of goods produced on your homestead for all their sawdust. Your homestead will be paying for itself.
Eliminate the Bad Smells Naturally
Use potpourri, incense, handmade candles, and essential oil blends to keep your house smelling fresh and clean.
Gardening Tips
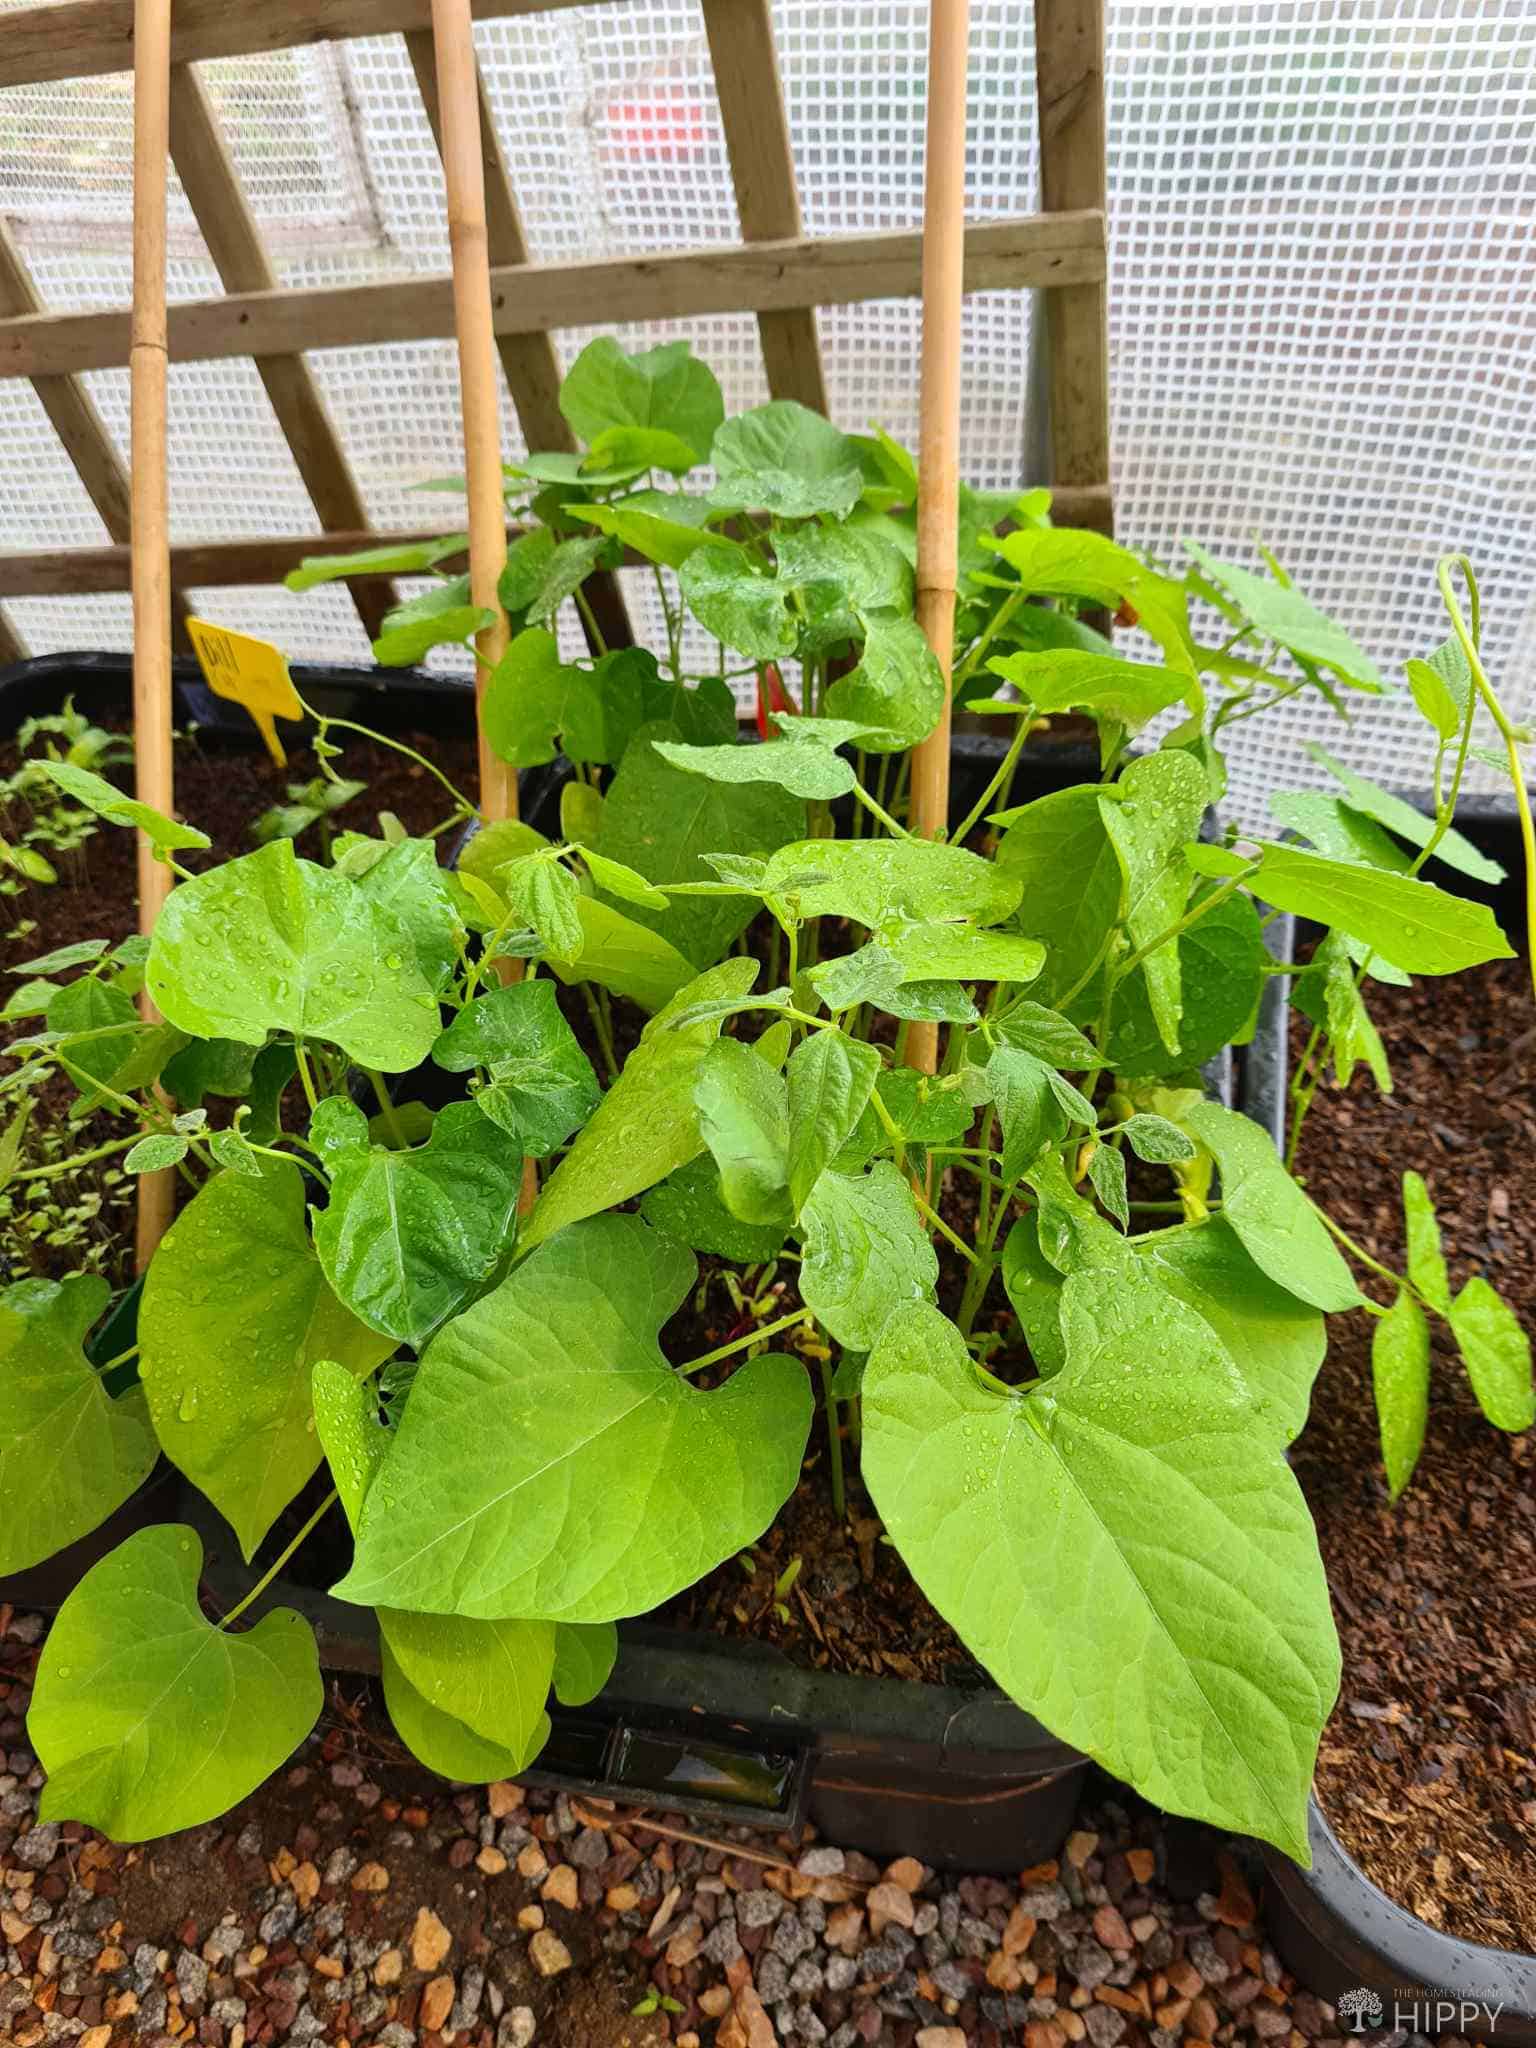
Plant and Grow Beans
To start with, you should soak your beans in water overnight on the day before planting. Then plant the seeds next to a lattice or pole (think Jack and the Beanstalk).
Beans are crawlers and need an obstacle course to thrive. If they do not have a lattice, they will spread out on the ground making it harder to harvest the beans and also reduce production because beans left in puddles on the ground will rot.
Grow Tomatoes
Growing tomatoes is an easy fruit (yes, tomatoes are actually fruit) to plant to grow and harvest. They can also be a messy chaotic plant to grow.
The biggest problem with growing tomatoes is that if they are not harvested in time, and if you miss a tomato and it over ripens and falls to the ground undetected, they can quickly grow and expand taking away much of your vegetable garden.
To grow good tomatoes, the plants should be planted where they will be in full sun for at least 8 hours a day, they should be well spaced (24 to 36 inches apart) to easily harvest the fruit and to give sufficient airflow for the fruit to grow.
I recommend growing the tomatoes upright by attaching the plants to a metal rod or a wood rod.
Upright growing allows you to see tomatoes easily to harvest them as they ripen and pick up tomatoes if they drop off – so that the plant cannot take over by allowing the overripe tomatoes to fall and release the seeds to grow hundreds of unwanted tomatoes.
I did this as an experiment a couple of years ago and never looked back. When I took on this experiment, I grew 10 tomatoes upright, and 10 on the ground to compare, they were also planted next to each other to achieve the same exposure to sunlight.
The two groups were planted far apart because I knew from experience that one tomato plant on the ground can quickly become a mass taking up 1 and ½ meters from a spacing of 26 inches apart.
My yield was much higher on the upright plants because they were properly ventilated and therefore ripened quicker, grew larger, and the quality of the fruit was better, and there was less mess and less wastage in the upright tomatoes.
Learn to Recognize Poisonous Plants in Your Area
The last thing you need is a child who has seen a berry and decided to eat it only to become very ill.
You also do not want to sit in a valley of poison ivy to rest between tasks; that would be very painful.
Identify the good plants and the bad plants and teach your kids what to stay away from.
Do Not Throw Out Coffee Grounds
There are so many uses for coffee grounds. Collect your coffee grounds with every fresh pot. Coffee grounds provide valuable nutrients to the soil in your veggie garden and flower beds. Add grounds to your compost heap to add nutrition to the compost.
Coffee grounds smell delicious, and also ward off bugs and mosquitoes. Place the grounds in decorative bowls in any room to keep those bloodsuckers away.
Grow Perennials for Food Year-Round
Plant perennials like fruit and nut trees, shallots, asparagus, and rhubarb. These will give you food for years.
You can also plant Swiss Chard (which can be harvested for 2 years), microgreens, and sprouts.

Grow Potatoes Vertically
Growing potatoes vertically can save valuable space. Grow your potatoes in a large, deep wooden box made with individual planks (see the tutorial below).
The bigger the box, the higher the potato yield. This will also make it a bit easier to harvest your crop.
Planting in soil can make for a harder harvest – especially if your soil is dense, we have clay soil that is impossible to harvest deep root plants; the plants just break off of the stems or grow too deep to harvest.
Here is a helpful guide on how to build your potato box and harvest potatoes.
Garden Diversely with Seasonal Plants
Do your homework about the correct time for planting your veggies.
I have personally tried to do all the vegetables in the book all year long – just as an experiment – when I had money for small bags of seeds. Turns out the folks who bag seeds know a lot more than me!
Plant a diverse crop and freeze as much as possible for use in the off season. Diversifying will keep your meals tasty and interesting.
Heat and Cool Your Garden
There are so many ways to cool, and also to heat your ground. Start with what you have. Read the planting instructions to know where to plant – i.e., plant in sun or plant in shade.
Use black tarp to warm the ground; black attracts heat and retains it well. Use barrels of water that have been left in the sun all day and then placed in the greenhouse at night to disperse heat all night.
Or fill barrels of water and place them straight into the greenhouse to cool the temperature. Both methods also help control humidity, meaning you will need to water your plants less. You can also use Ground to Air Heat Transfer Systems.
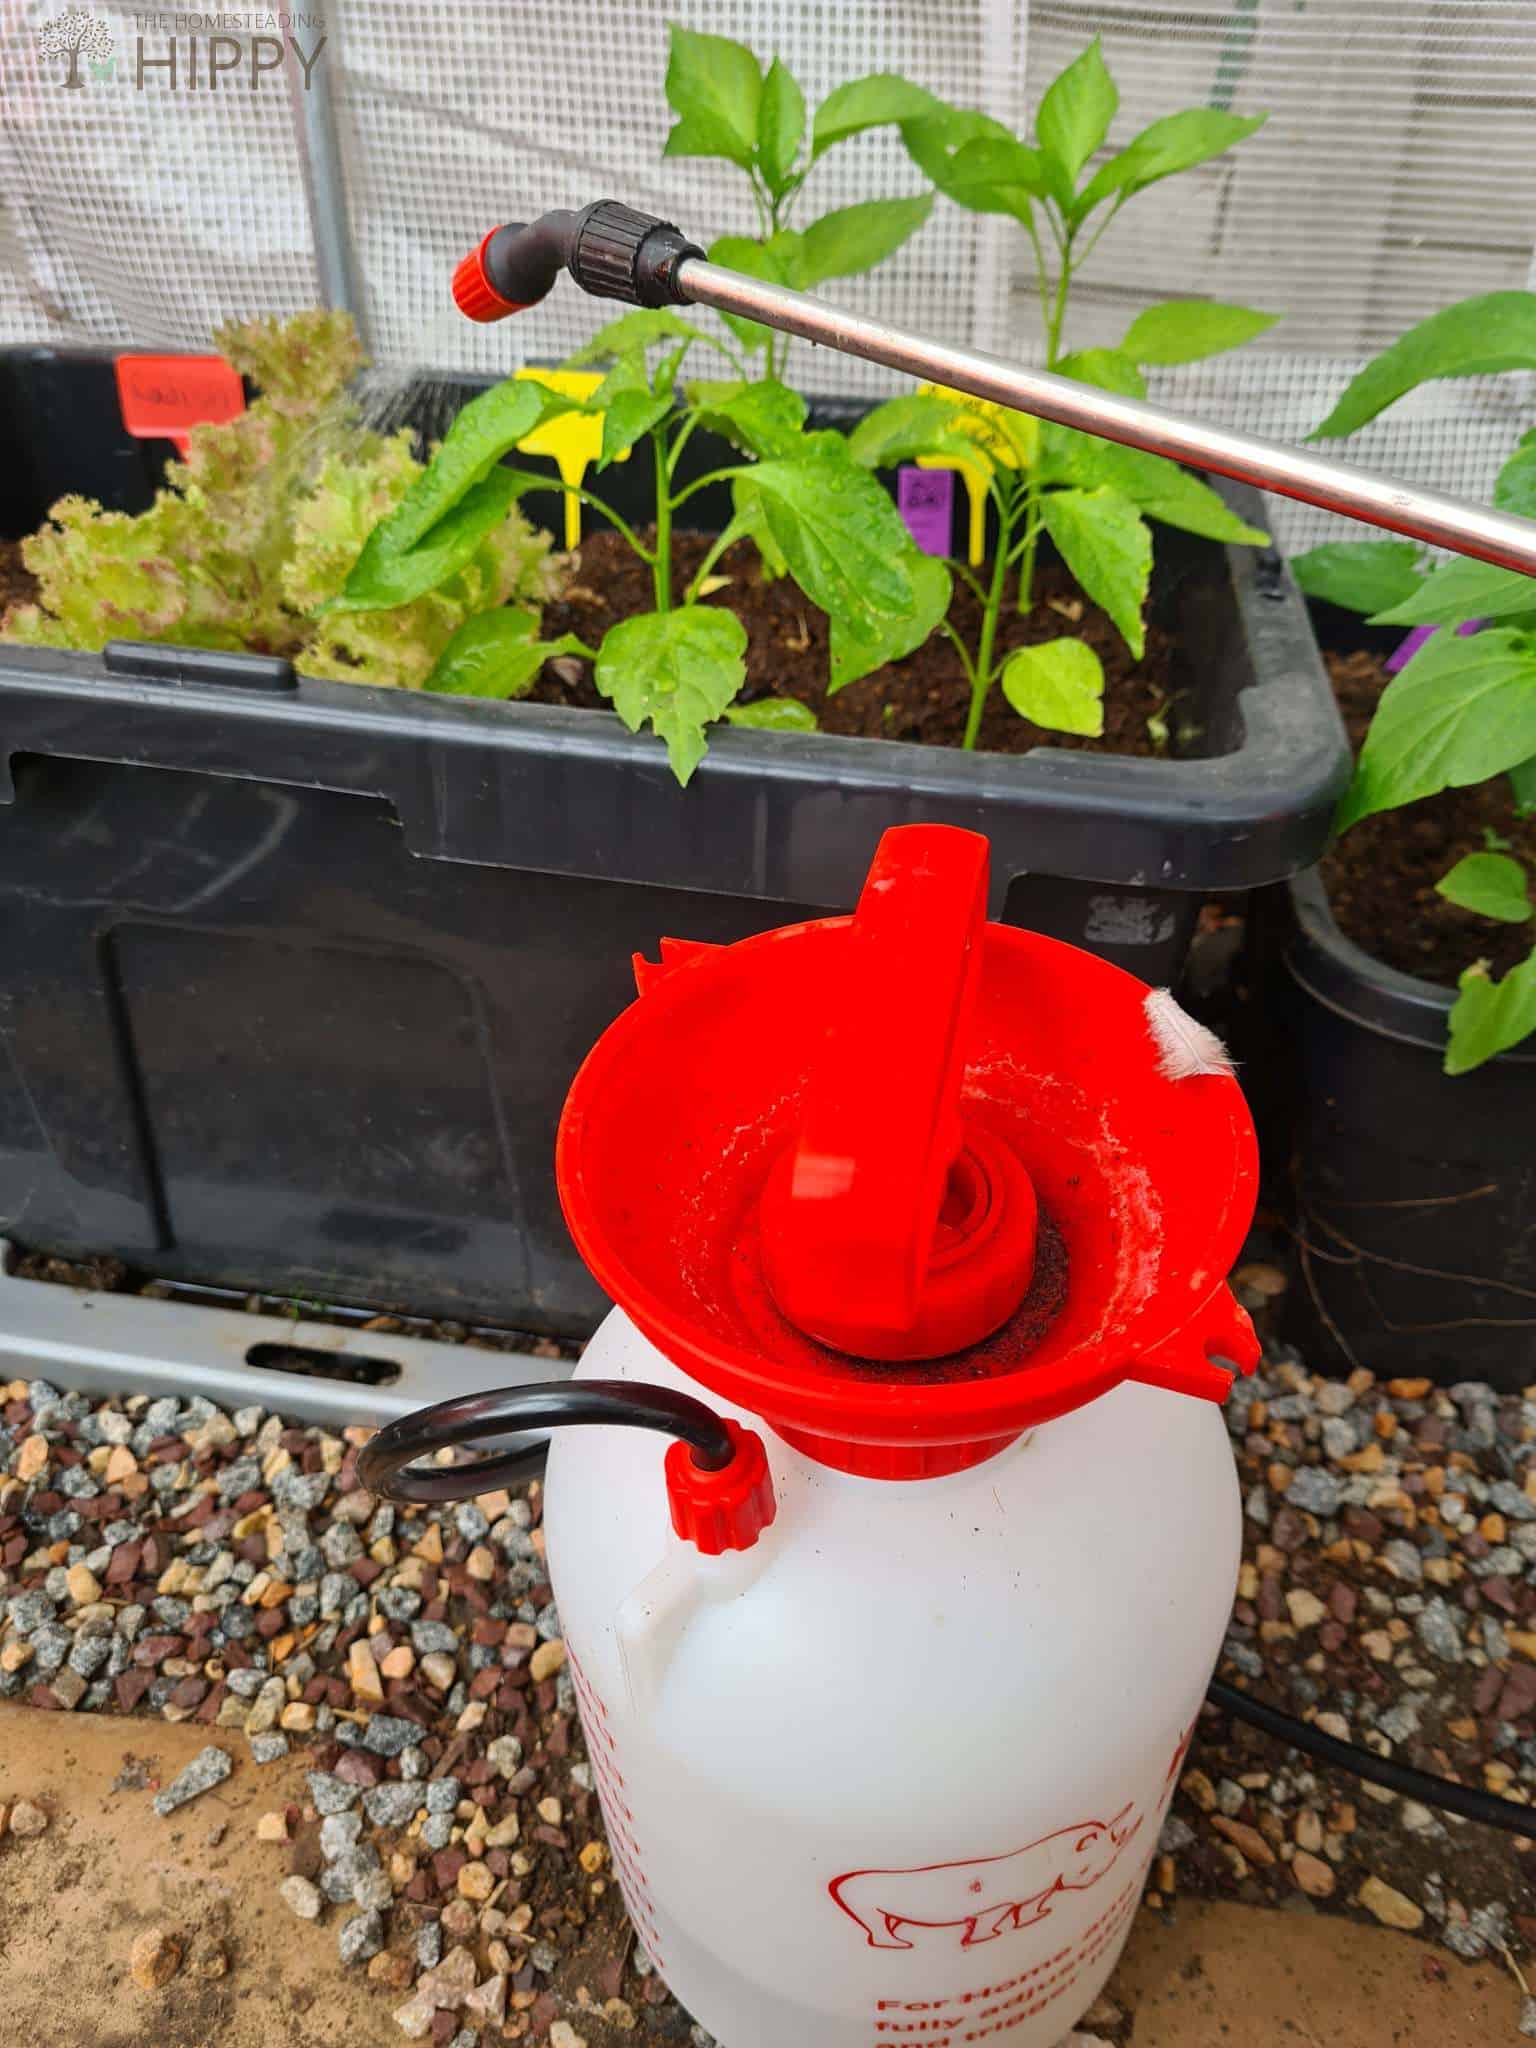
Cut Down on Water Usage
Use drip irrigation or water with sprinklers, watering cans, or ideally with sprayers. The whole concept of plants needing water, water, and more water is a complete old wives’ tale.
The most your plants need is to moisten the top inch of soil. If it’s raining cats and dogs, don’t panic, the ground will absorb the water soon enough. Relying on rain is a good thing. It means you will have to water less.
Attract Earthworms
Earthworms are not the invaders we thick they are. They actually have a very good use in the garden.
Earthworms eat dead matter and mulch in the ground, and they provide ventilation in the soil which makes the plants grow better.
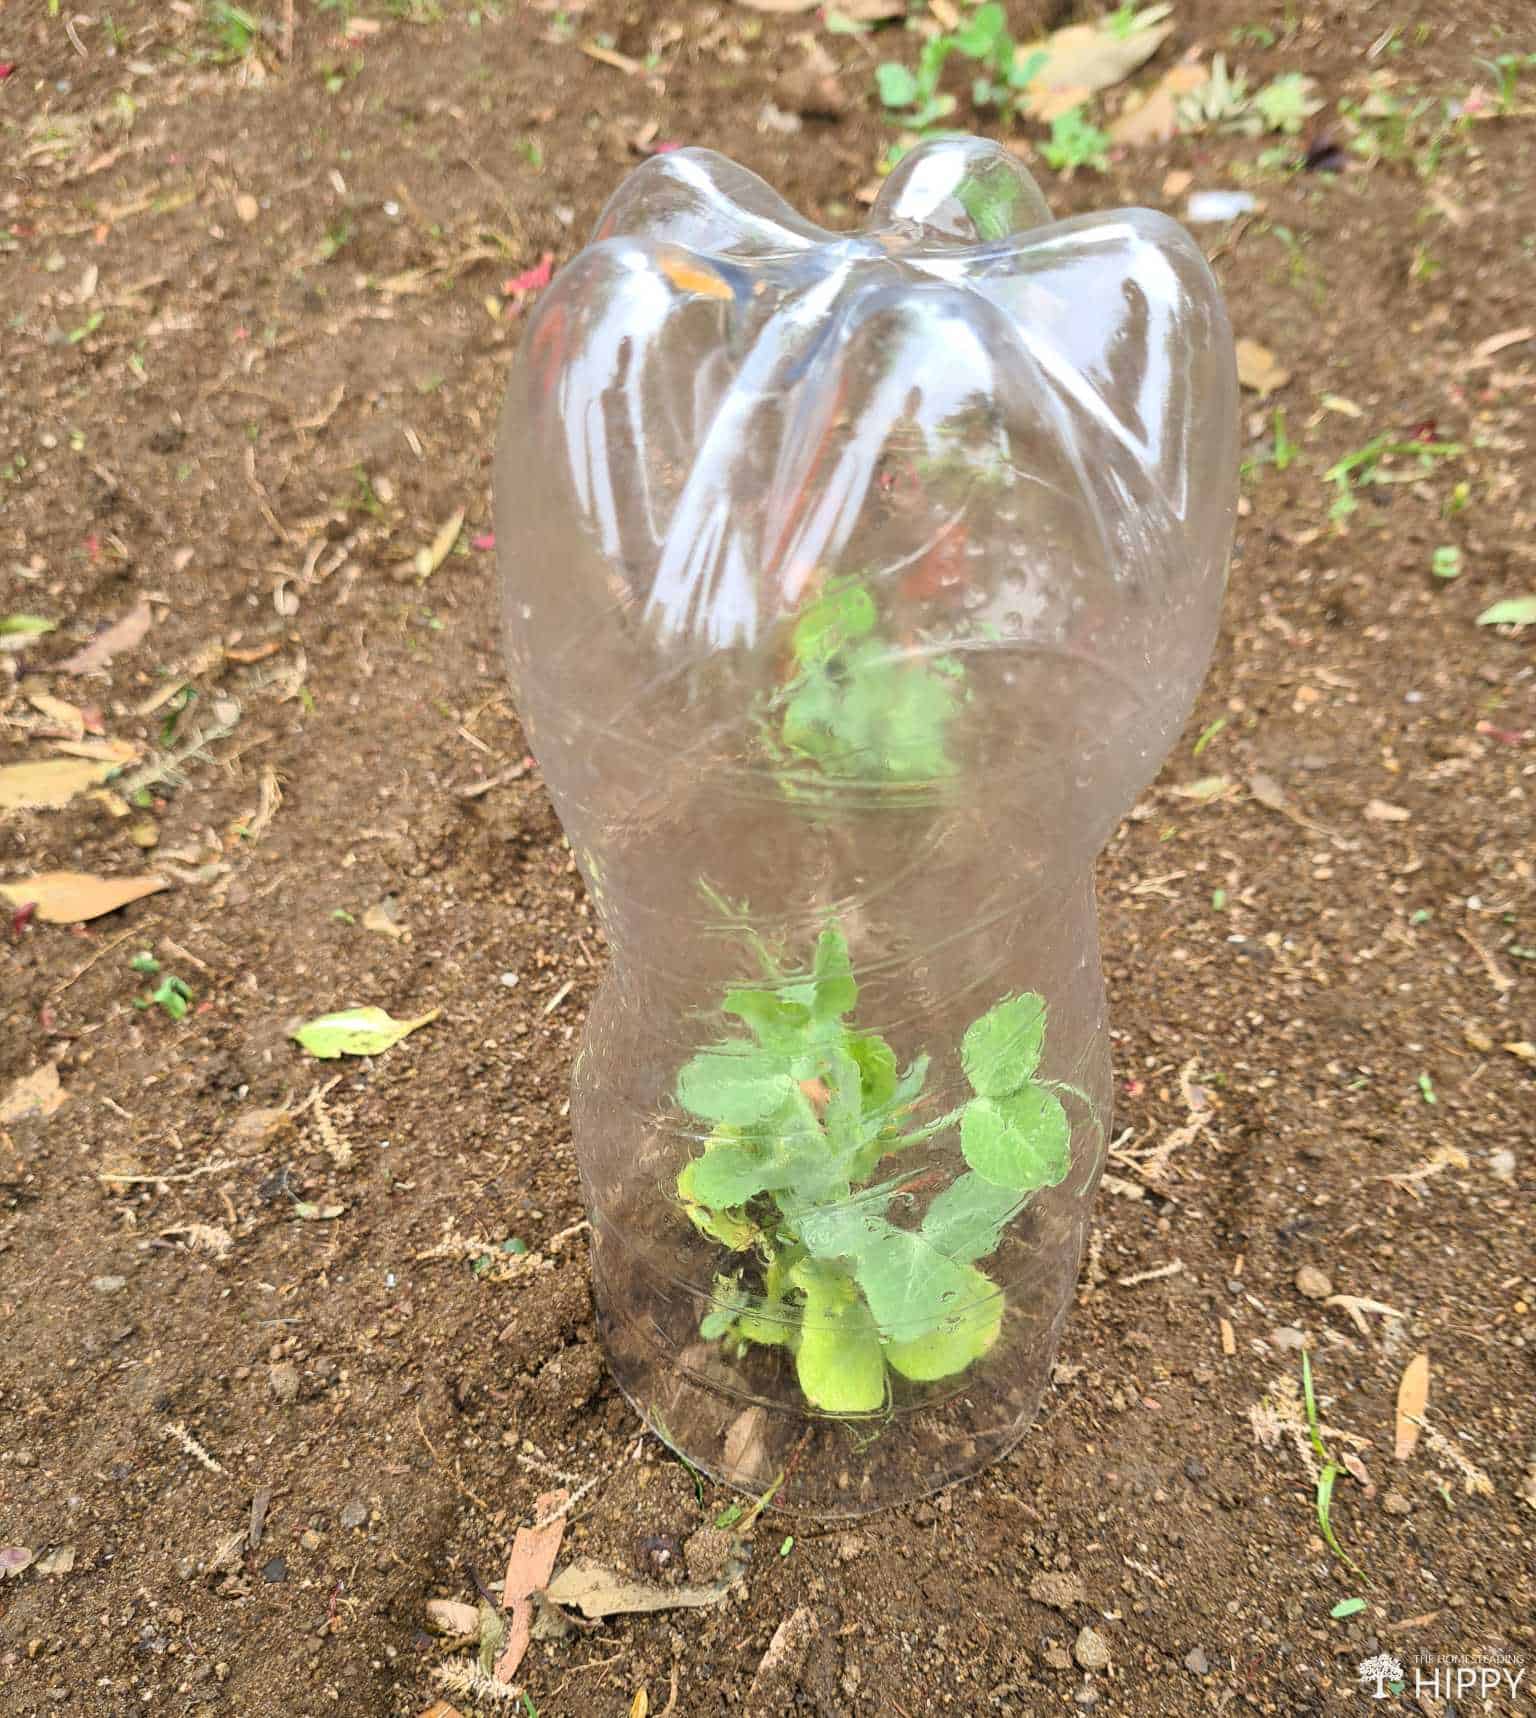
Use Cloches to Protect Your Plants from Frost
A cloche is simply a cover to put over your plants in winter to protect them from frost. You can make your own by cutting soda bottles or buckets and placing them over each plant at night.
You will need to remove the cloche in the morning. The plants will need the sun and air to grow but leaving the cloche on will overheat the plants and kill them.
Use a Greenhouse or Tunnel
Greenhouses and tunnels are so convenient for growing your vegetables. They provide an easily manageable environment to grow your vegetables all year round. They require less water, and they protect plants from frost.
Use a Greenhouse or Tunnel to Protect and Grow Plants All Year in a Controlled Environment
Get Rid of Squash Bugs Using Packing Tape
Once squash bugs make their way into your garden, getting rid of them can be a real problem. The best way to stop squash bugs from taking over is to attack the eggs. The eggs are laid under the leaves and are very easy to spot as they are laid in a cluster.
Use packing tape and gently pluck the eggs from the leaf so that they stick to the tape. Once you have all the eggs, just fold the tape to trap the eggs and throw the tape away.
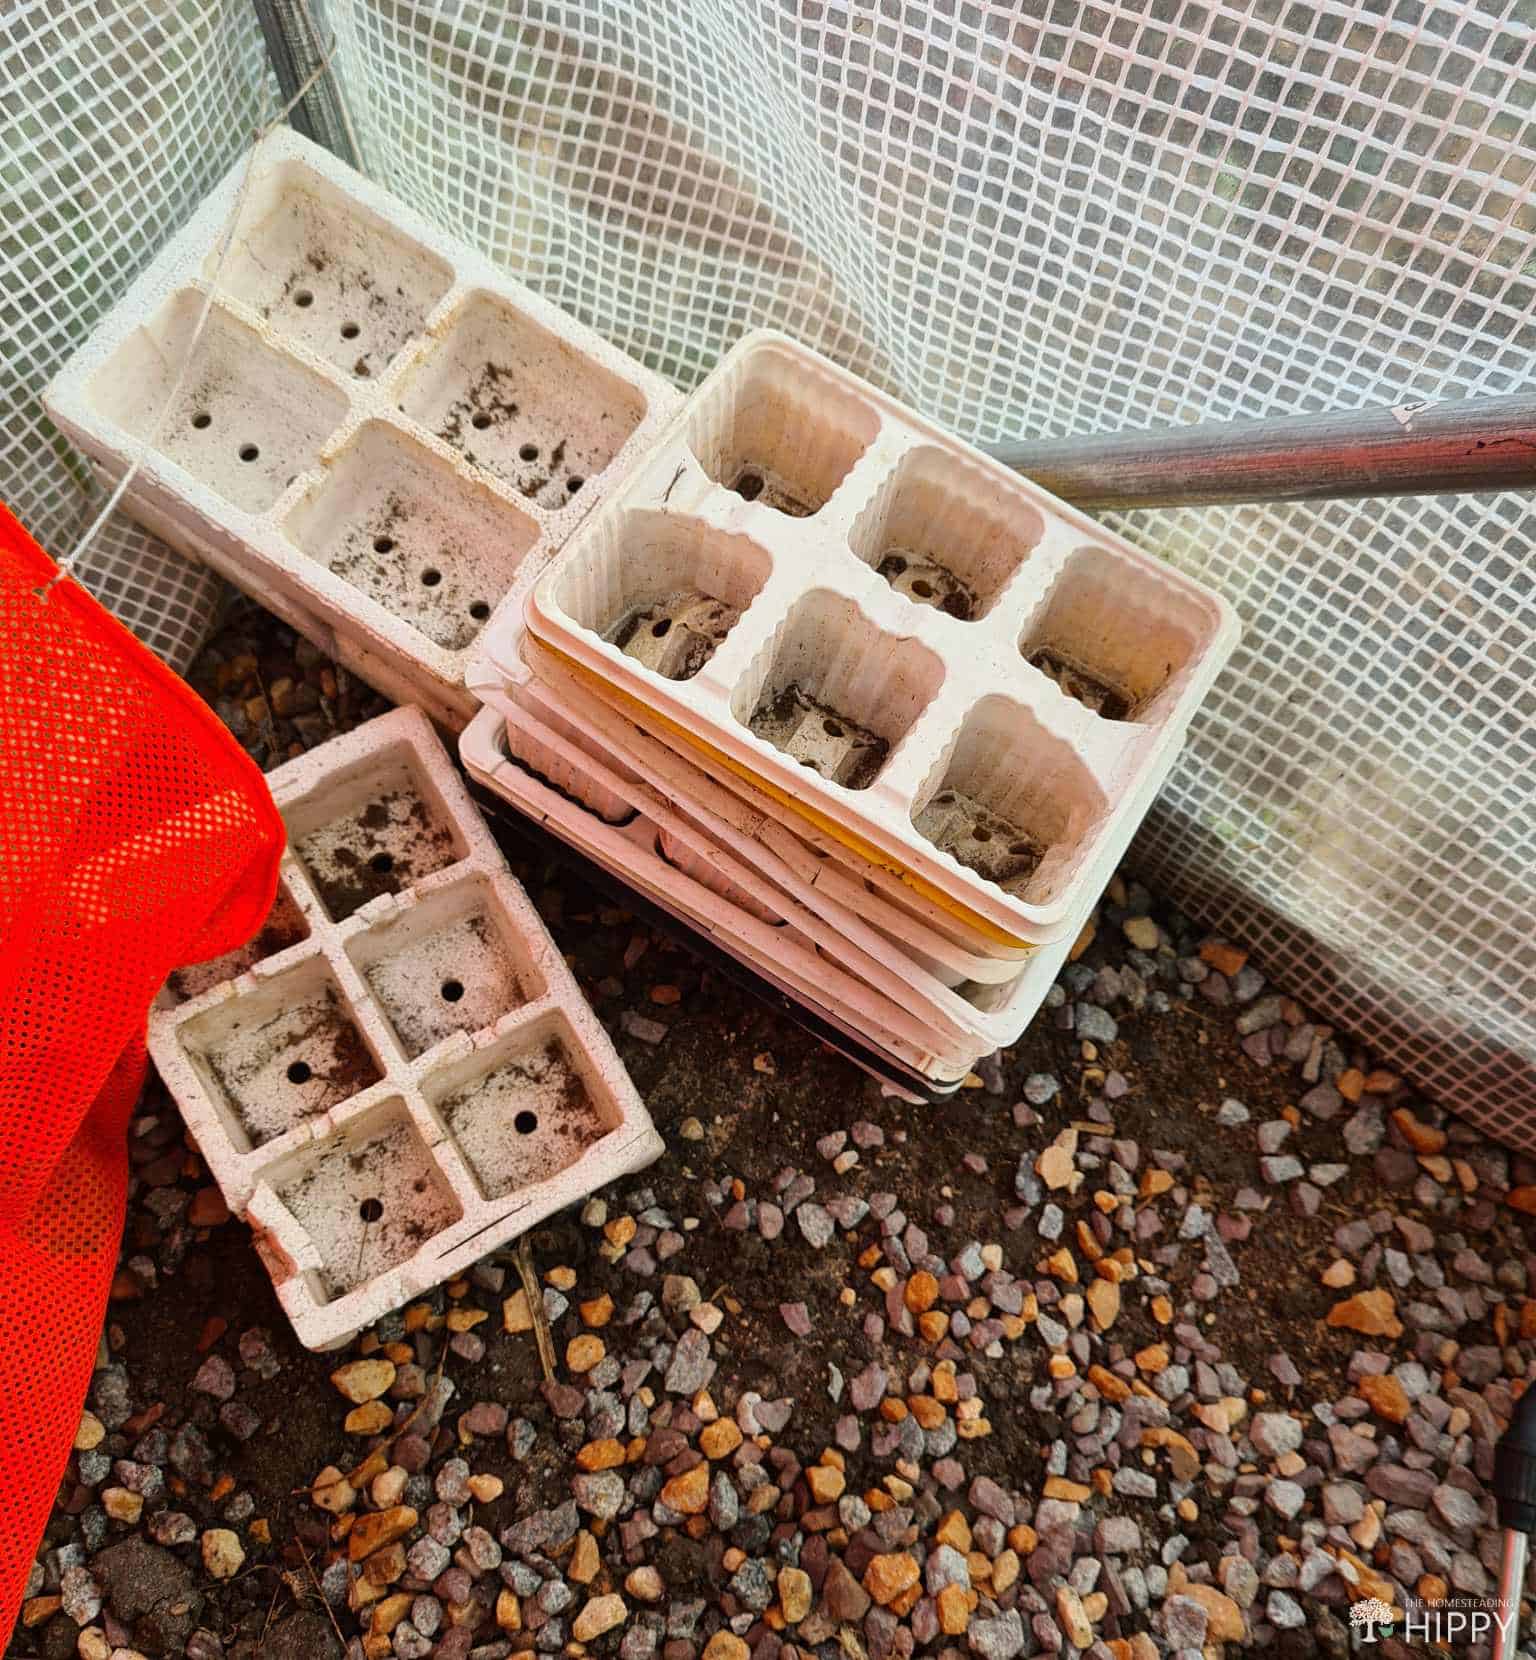
Reuse or Make Your Own Seed Trays
You can reduce waste by reusing seed trays or buying secondhand trays from your local nursery.
My nursery sells new seed trays which are quite expensive, but I asked what they do with their used trays, and they looked shocked that no-one had ever asked them that question before.
Their answer was that they threw the used trays away because they need good trays to sell seedlings. Which earned them a grin from me!
An eco-friendly alternative is to use egg trays. They are biodegradable and can be set in the ground with the seedling. The retained moisture in the soil will degrade the paper and the seedling will establish itself in the ground.
You can also stack your used paper coffee filters in an empty container and plant seeds directly into the coffee grounds. The paper is biodegradable and can therefore be planted directly into the ground.
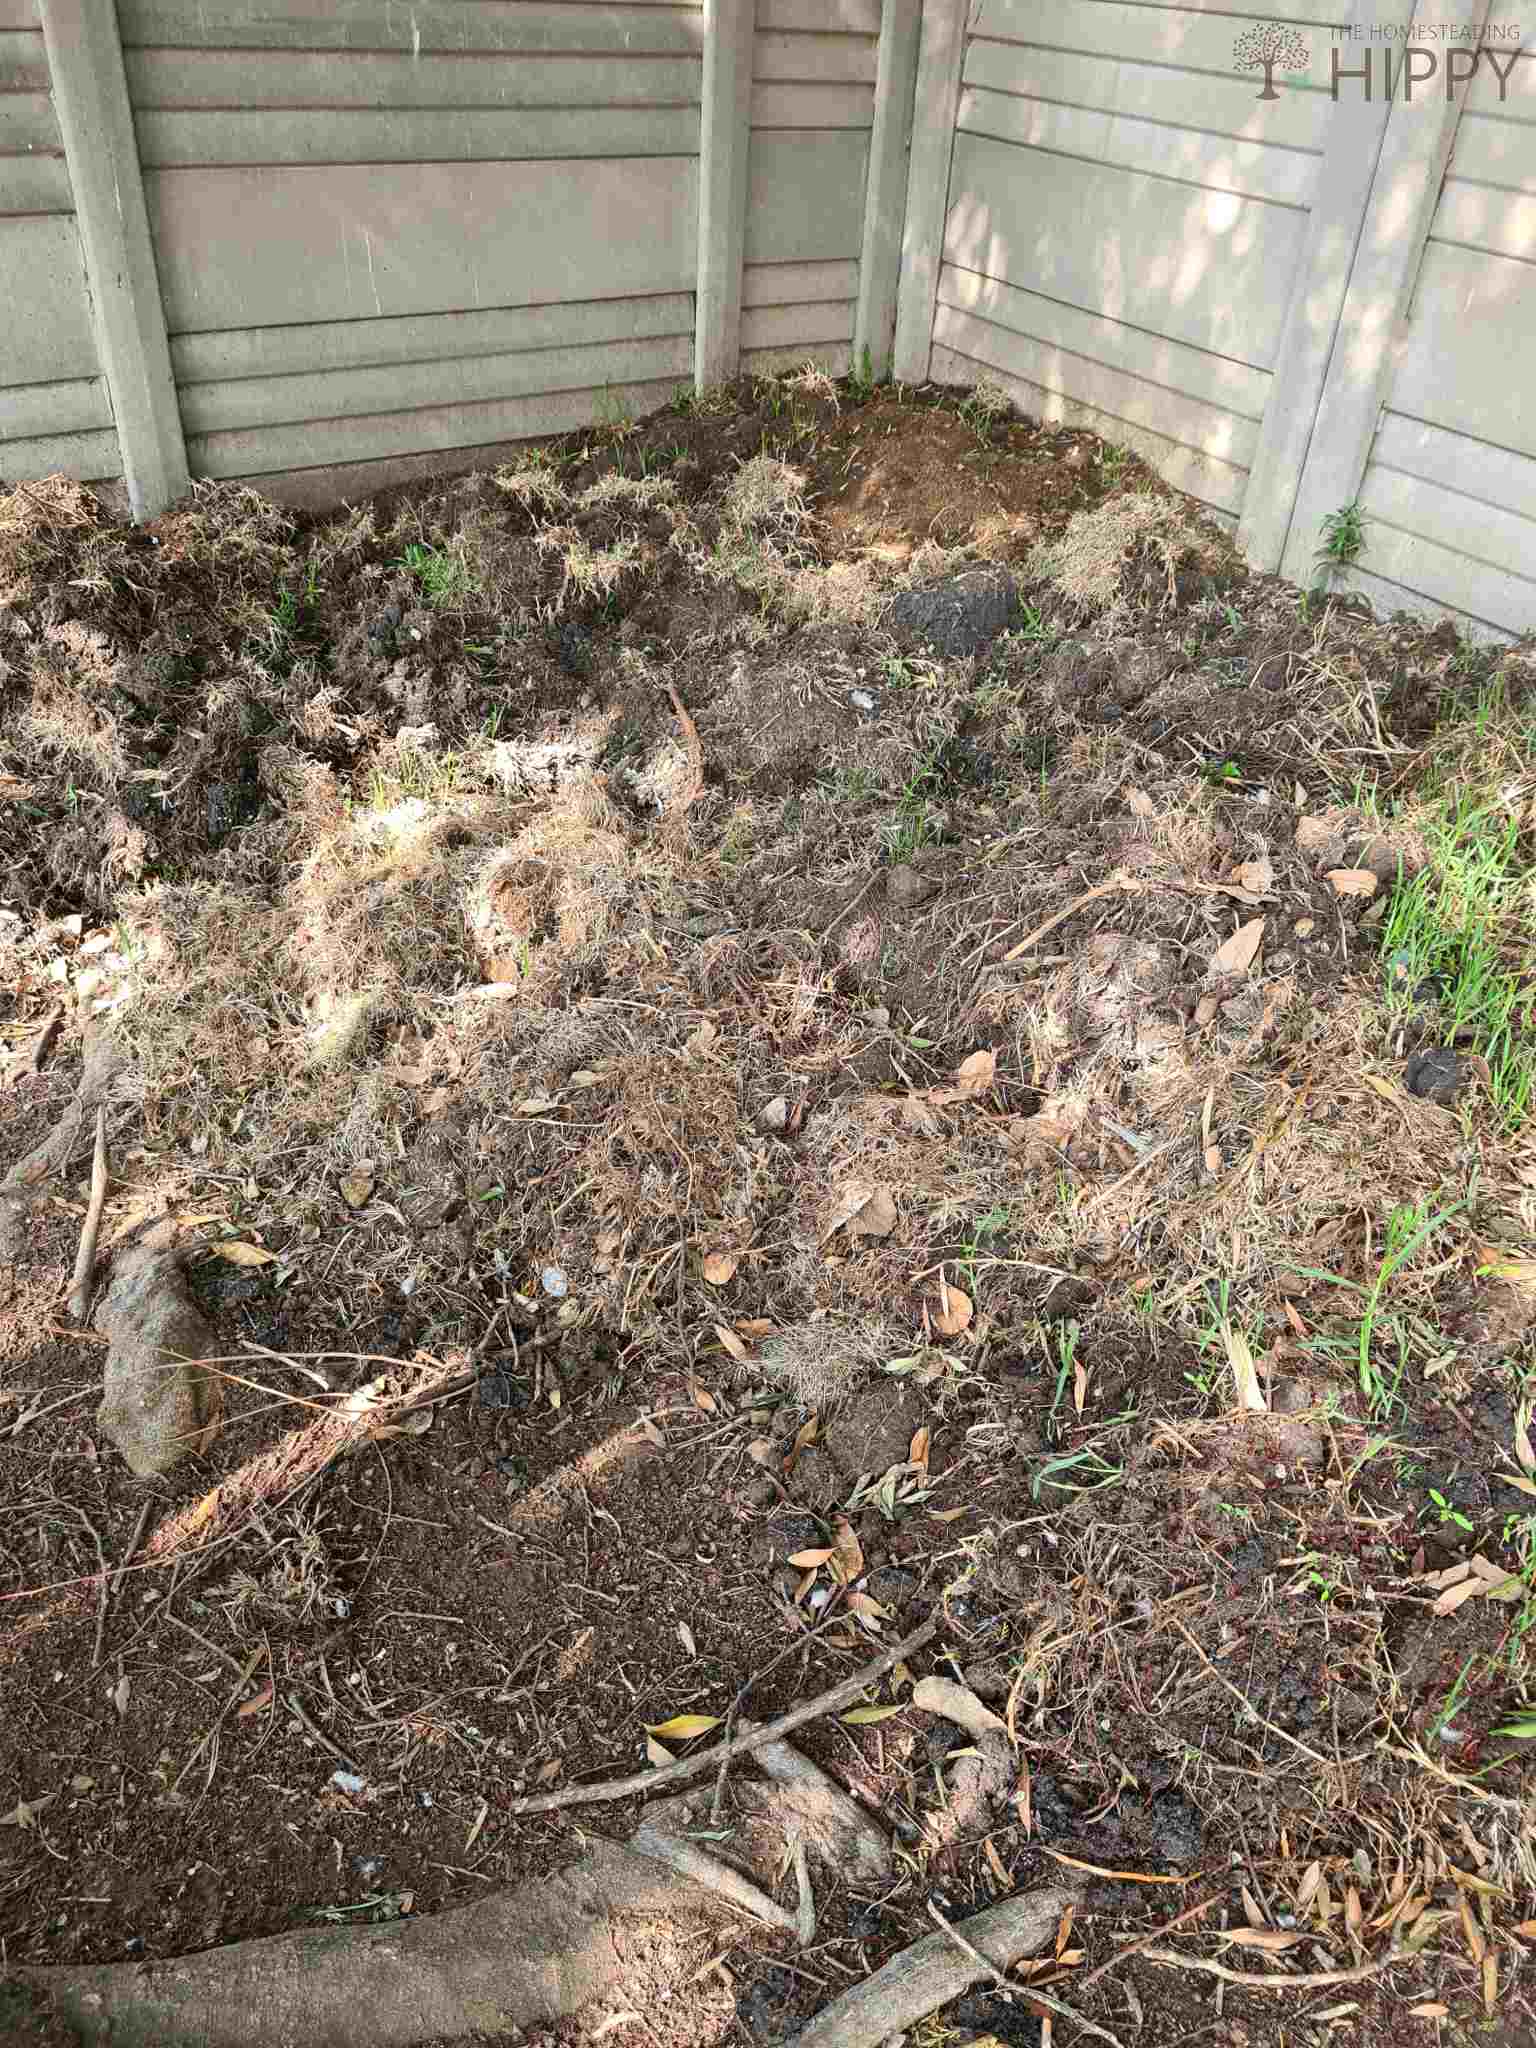
Let Your Soil Rest in the Winter Months
Giving your soil time to rest during winter will help restore the nutrients in the soil.
Typically, I harvest at the end of fall and let the soil rest for winter. Three weeks before spring I clean up the messes left by the weather and start loosening the soil and mixing in compost.
The week before spring I repeat loosening and adding compost. I start my seedlings in seed trays when I do the first loosening of soil, but I keep them indoors until spring.
On the first day of spring, my seedlings are ready to be planted and the soil is rich and ready for the task of growing your food.
Maximize Your Growing Space by Planting Vertically
The first time I heard about vertical gardens I was taken aback by the genius of this method. We all know that some vegetables do better or require a lattice – beans, cucumbers, and even tomatoes.
But by setting up a vertical garden you can save on water by putting plants that require a lot of water on the top and plants that need little water on the bottom.
The water will drain through each layer until reaching the bottom shelf which holds plants that do not require a lot of water.
A vertical garden can easily be made by cutting PVC piping horizontally, drilling holes in the bottom of each half for drainage, and hanging the halves on top of each other. You will also be able to maximize the space you have available.
Make Your Own Compost
Getting your own compost going is a cheap, easy way to provide healthy nutrition for your garden or vegetables.
This you can do in two ways. Option 1 is to create a compost heap. This you do not want anywhere near your house because it will be smelly and attract flies. It will also require some tending to turn once a month.
Option 2 is brilliantly easy and is great for the planet. You will need a vermicomposting bin (you can make your own to save money). It can sit right outside your kitchen as it is not very smelly and flies will have no access so they will not be a problem.
It is a series of layers in a bin and worms – that’s it! You scrape your kitchen scraps into the bins, the worms eat them and poop out compost that can be collected from a tray at the bottom.
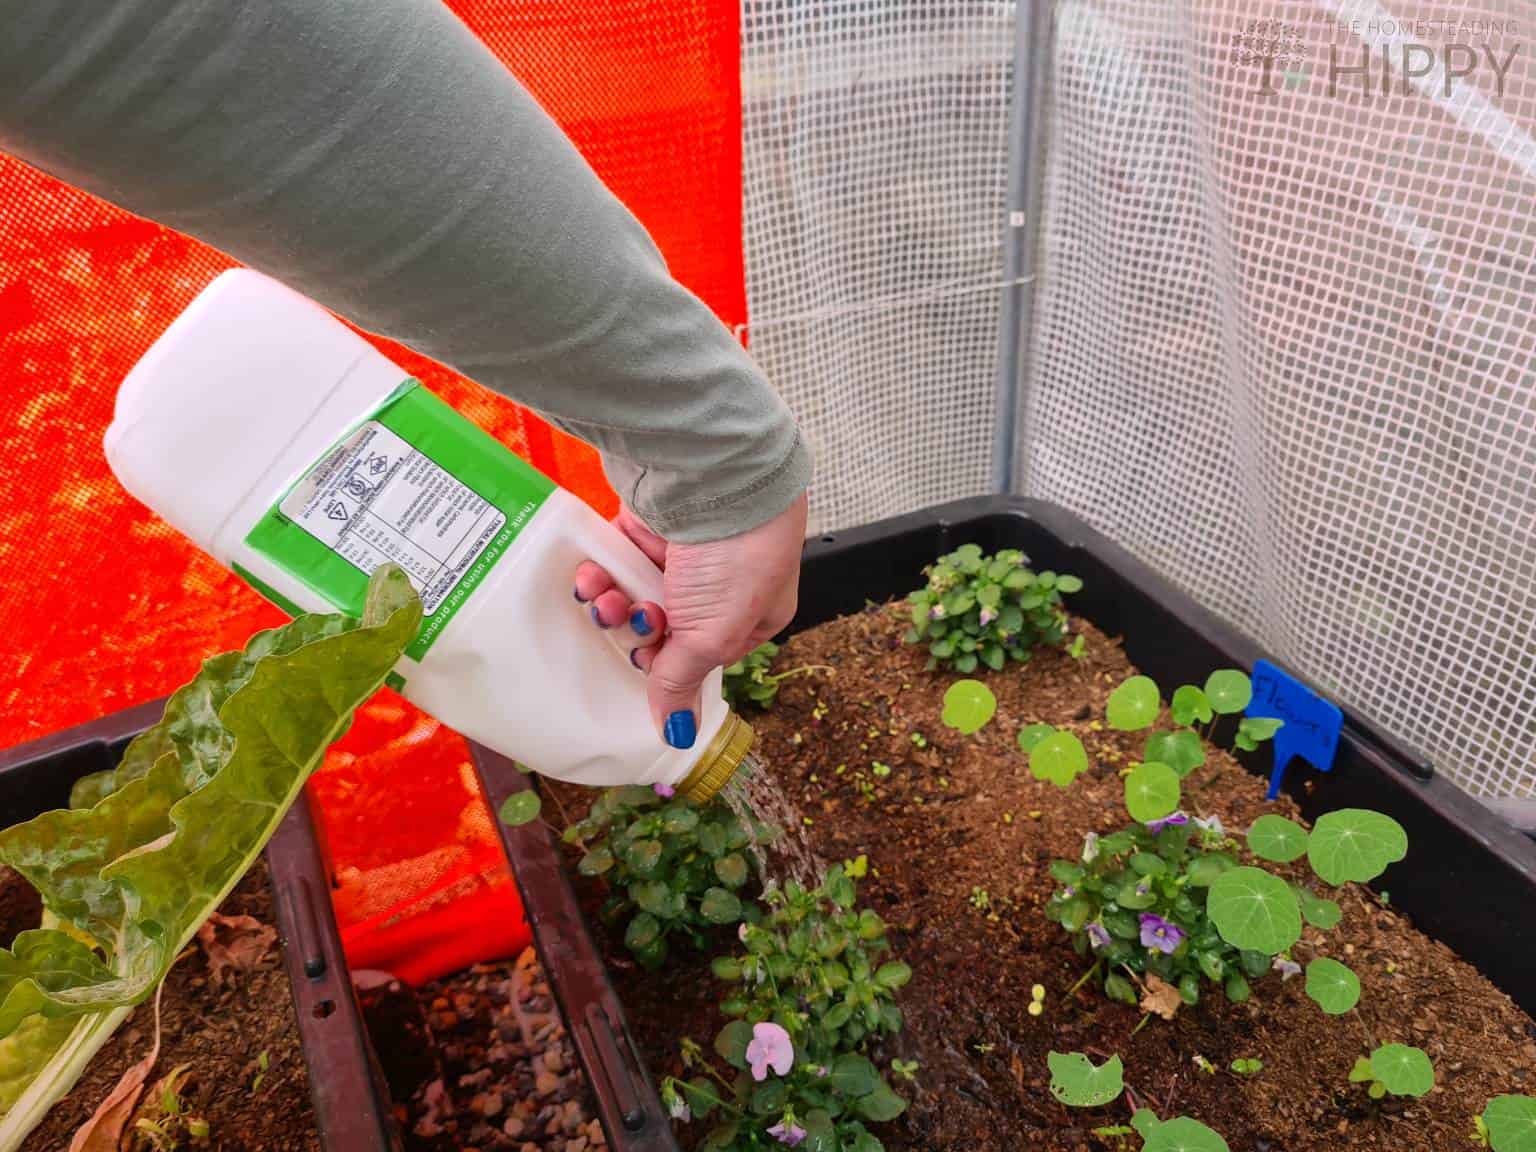
Make Your Own Watering Can
If you have a plastic bottle with a big lid, you have everything you need (a milk jar is perfect because it has a handle).
Punch holes in the lid and wash the bottle thoroughly, fill the bottle with clean water and replace the cap. Turn the bottle to allow the water to sprinkle through the holes in the lid.
Use an Egg Carton as a Seed Tray
Cut the lid off of the pulp egg tray and place it under the egg holder (obviously without the eggs inside ). Punch holes in the egg holders, add a little compost to the ½ way point and place the seeds in the individual cups.
Once the seedlings are established, cut the individual cups loose, and plant the seedlings cup with the seedling directly in the ground. The cup is biodegradable, and the seedlings will grow better as they are not disturbed by transplanting them into the ground.
Livestock Tips
Choose Good Breeders
If you are planning on breeding with any livestock, make sure you choose high quality males and healthy females to start with.
Good breeders will be more expensive to start your breeding venture, but they will ensure that your herd will provide reliable, healthy, good stock animals.
DIY Water Dispenser for Ducks and Chickens
Take a 5-gallon bucket that has been thoroughly cleaned. Close to the bottom of the bucket drill 2 1-inch holes on opposite sides of the bucket.
Place the bucket, right side up, inside a large foil roasting pan or another container that will give space between the bucket and the sides of the container.
Quickly fill the bucket and seal the lid back on immediately ensuring that it is airtight. If the seal is good the water will not all gush out at once.
Manage Your Feed Storage Properly
Ideally, you should never buy more feed than your livestock will eat in one month. That way your animals will not be eating stale, fermenting, innutritious food.
Even buying food for 1 month can be problematic if you are not storing the food correctly. Store your feed in sealable containers that lock out water, air, and most importantly, pests.
Why You Should Keep Chickens
Chickens are great for more than just providing eggs. They are also great for eliminating garden pests that would destroy your plants.
They loosen the ground as they scratch around making gardening easier. They provide great compost for your garden and veggie patch. They shred leaves that drop in autumn making them easier to use in compost.
DIY Feeder for Chickens and Ducks
Clean out a 5-gallon bucket and drill 1-inch holes all the way around the base of the bucket. Space the holes roughly 2 inches apart.
Place the bucket right side up in a foil roasting pan or another container and fill with feed. Replace the lid on the bucket. Food will be released as the birds eat.
Take an Active Role in Preventing Disease in Livestock
Newcastle’s Disease is spread so easily, and it can be devastating! It is spread on the shoes of people coming into your chicken or duck run.
If your run becomes infected, you will have to, by law (I cannot express how important it is to comply with law about this as this disease is highly infectious and deadly), destroy all the birds on your property, including ducks, chickens, and geese, and you will have to sterilize your run monthly and keep no birds on the property for 2 years!
Because it is so easily transmitted, it will take 2 years to eliminate in your area. All locals will be forced to destroy their birds immediately and follow these procedures, this means that eliminating the disease will affect more than just your own homestead.
I had a one meter wide and two-meter-long sterile footbath at the entrance to my run that worked beautifully until we caught a man trying to spy and learn from our runs how to successfully farm with chickens.
He held onto the side of the door and swung himself into the run bypassing the footbath.
He infected my runs with Newcastle’s (probably why he was unsuccessful on his farm), and the government had to be notified so that they could go from farm to farm and homestead to homestead to destroy every bird in the area. Infected birds and their eggs cannot be eaten!
Be vigilant about who is on your property and make sure they follow procedures to eliminate the spread of disease.
Be Militant About Fencing in Livestock
Goats are particularly good at escaping pens and destroying gardens. Make sure they are fenced in very well with tall fences and nothing near the fences that they can use as steppingstones to get over the fence; remember they are really good jumpers.
If you do not want to be overrun with horses, you will need to ensure that the stallions have absolutely no access to the mares.
The stories I could tell you… we had one stallion who convinced a mare to back up to a fence and ‘serviced’ her through the fence. The result was a very cute foal, so he was forgiven.
Do Not Chase After Your Livestock, Let Them Come to You
It is amazing how quickly animals learn to associate you with food. Call out to them or ring a bell for dinner.
They will learn that your call means food. It will be easier to pen them in at night, saddle up, or gather the herd for milking, or medical checkups.
Trimming Your Goats’ Hooves
Trimming your goats’ hooves can be a challenge if you do not know how. Goat’s hooves need to be trimmed every 6 to 8 weeks.
Always make sure your goat is properly restrained; if you can, pen the goat so that it cannot bounce around. You need to ensure the goat can stand comfortably on three feet.
Before you start clipping, brush the dirt off of the goat’s feet so that you can clearly see the hoof; you do not want to accidentally over clip or worse clip the flesh surrounding the hoof.
Also, keep a bottle of blood stop powder on hand just in case you clip too deep or do clip a bit of flesh.
DIY Goat Feeder
Feeders for grain are very easy to make. Think chicken roosts.
Make boxes like you would make for chicken roosts, add a small lip at the bottom of the boxes to limit wasted food, and raise the boxes off the ground so that the goats eat at face height. This reduces the amount of grain that is pushed out of a low trough.
To keep the hay fresh and clean, build a V shape frame with slots to feed the hay through. The bottom of the V should not touch the ground.
You may think this is an odd comment to make about an animal who will happily eat every vegetable in your veggie garden, but goats actually do not enjoy eating feed or hay off the ground; they will eat the plants ignoring the last bit that is planted and is in contact with the soil. They like their food clean, fresh, and dry.
DIY Udder Balm
Dairy farming is a delicate balance of getting milk from your cow for your own use without compromising the health of your cow.
If you see that your cow is uncomfortable and her teats are red or look raw and irritated, you should immediately apply balm to the udder and teats.
In fact, I recommend applying balm at least once a month to ensure the cow is comfortable. But udder balm can be expensive.
You can make your own teat balm by combining beeswax, honey, coconut oil, olive oil, lavender extract, tea tree oil, and melaleuca.
How to Stop Your Cow from Kicking When You Are Milking
An easy way to stop a cow from kicking is to have two people milking her at the same time: one on either side.
She will not know who to kick first and just not kick at all. You can also use a milking rope or bar that does not allow the cow to lift her legs to kick.
Also, milk quickly; get the job done by preparing the milking stall properly before you approach the cow.
Better than all these suggestions is this: build a strong relationship with plenty of positive reinforcements (treats) throughout your interactions outside and inside the milking stall.
This is the same as training a dog; spend plenty of time with her, petting her and giving treats when she sees you and pets you or lets you handle her. You are winning her trust so that she will not kick you.
How to Estimate the Weight of a Pig Without a Scale
This tried and tested calculation is remarkably accurate. While your pig is distracted with food, first measure the length of the pig from the base of the tail to between its ears.
Then measure the heart girth – use a cloth measuring tape, measuring in inches, placed behind the legs wrapped snugly around the heart girth and read directly behind the shoulder.
To calculate the weight, take the heart girth squared and multiply this by the length and divide that by 400. This will give you the weight of the pig.
DIY Beehive in a Mason Jar
This is the most ingenious way to collect honey from bees. Instead of me explaining how to do this, watch this to learn exactly how to create a beehive in a mason jar.
This is so clever for harvesting your honey without handling the frames inside of the hive. The honey is ready to be stored in your pantry or to sell your jars of honey.
Butcher Your Own Livestock
If you have the stomach for slaughtering your own animals, you can cut the cost of an abattoir and butchery. That is IF you have the stomach for it.
Learn how to butcher a chicken here.
Tips for the House and Kitchen
How to Freeze Vegetables for Winter
Freezing vegetables is a great way to continue to provide healthy, low-cost meals in winter. Cabbage and potatoes are the only vegetables that tend to become waterlogged when frozen. Most other vegetables need to be blanched before freezing.
To blanch your vegetables, boil them for one to three minutes (depending on the density of the vegetable). Immediately dunk the vegetables in ice water to rapidly cool them. Store them in Ziploc bags, plastic containers, or – my favorite – vacuum packing.
Make Your Own Household Cleaners
Making your own dishwashing liquid, detergent, soap, candles, shampoo, etc. can cut down on your expenses and also give you a viable product to sell for another source of income for your homestead. It is also a lot of fun to do.
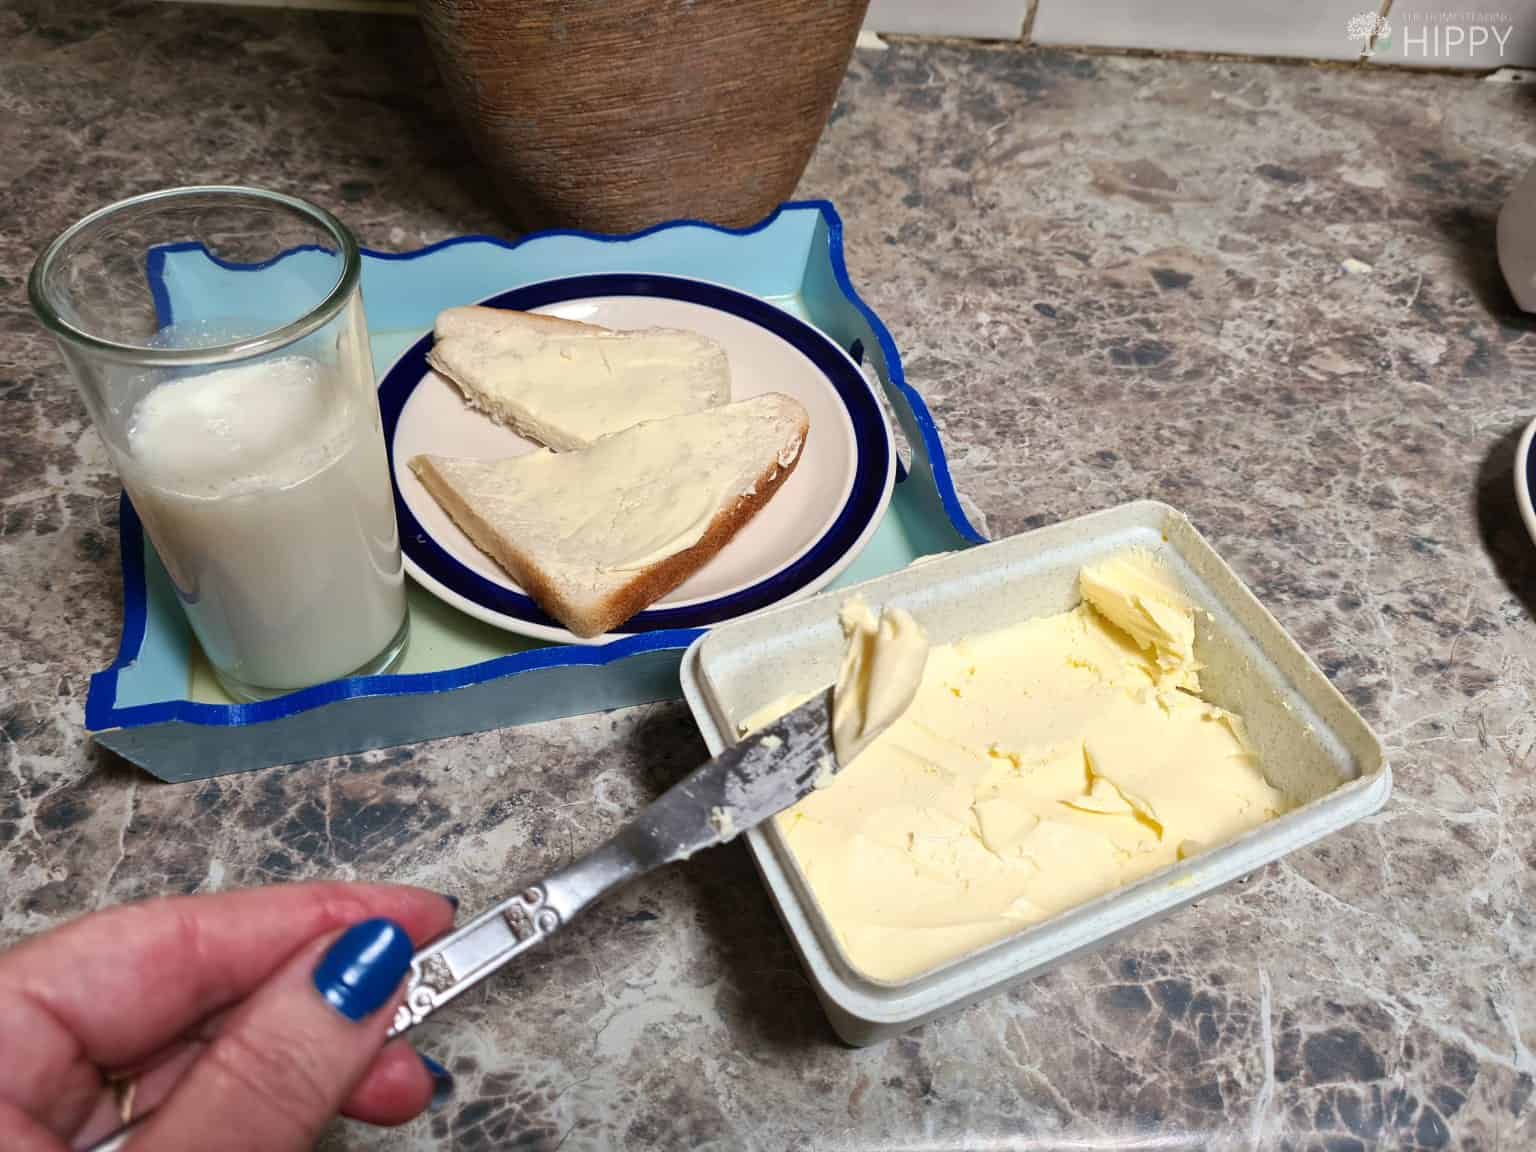
Make Your Own Butter
There is nothing like homemade butter! And it is so easy to make. Even better, if you have your own dairy cows, it will cost you absolutely nothing! An added plus, you will also extract buttermilk when making your butter.
For unsalted butter, pour a cup of cream into your food processor and run the processor until the butter separates from the buttermilk.
Drain the buttermilk and save it to use on other recipes. Cool the butter in cold water to ensure that all the buttermilk is out of the butter, folding the butter regularly.
Then just drain the water off the butter and store the butter in a container. It is important to remove all the buttermilk as it is the buttermilk that will cause the butter to spoil. You can add salt when you drain the buttermilk if you prefer salted butter.
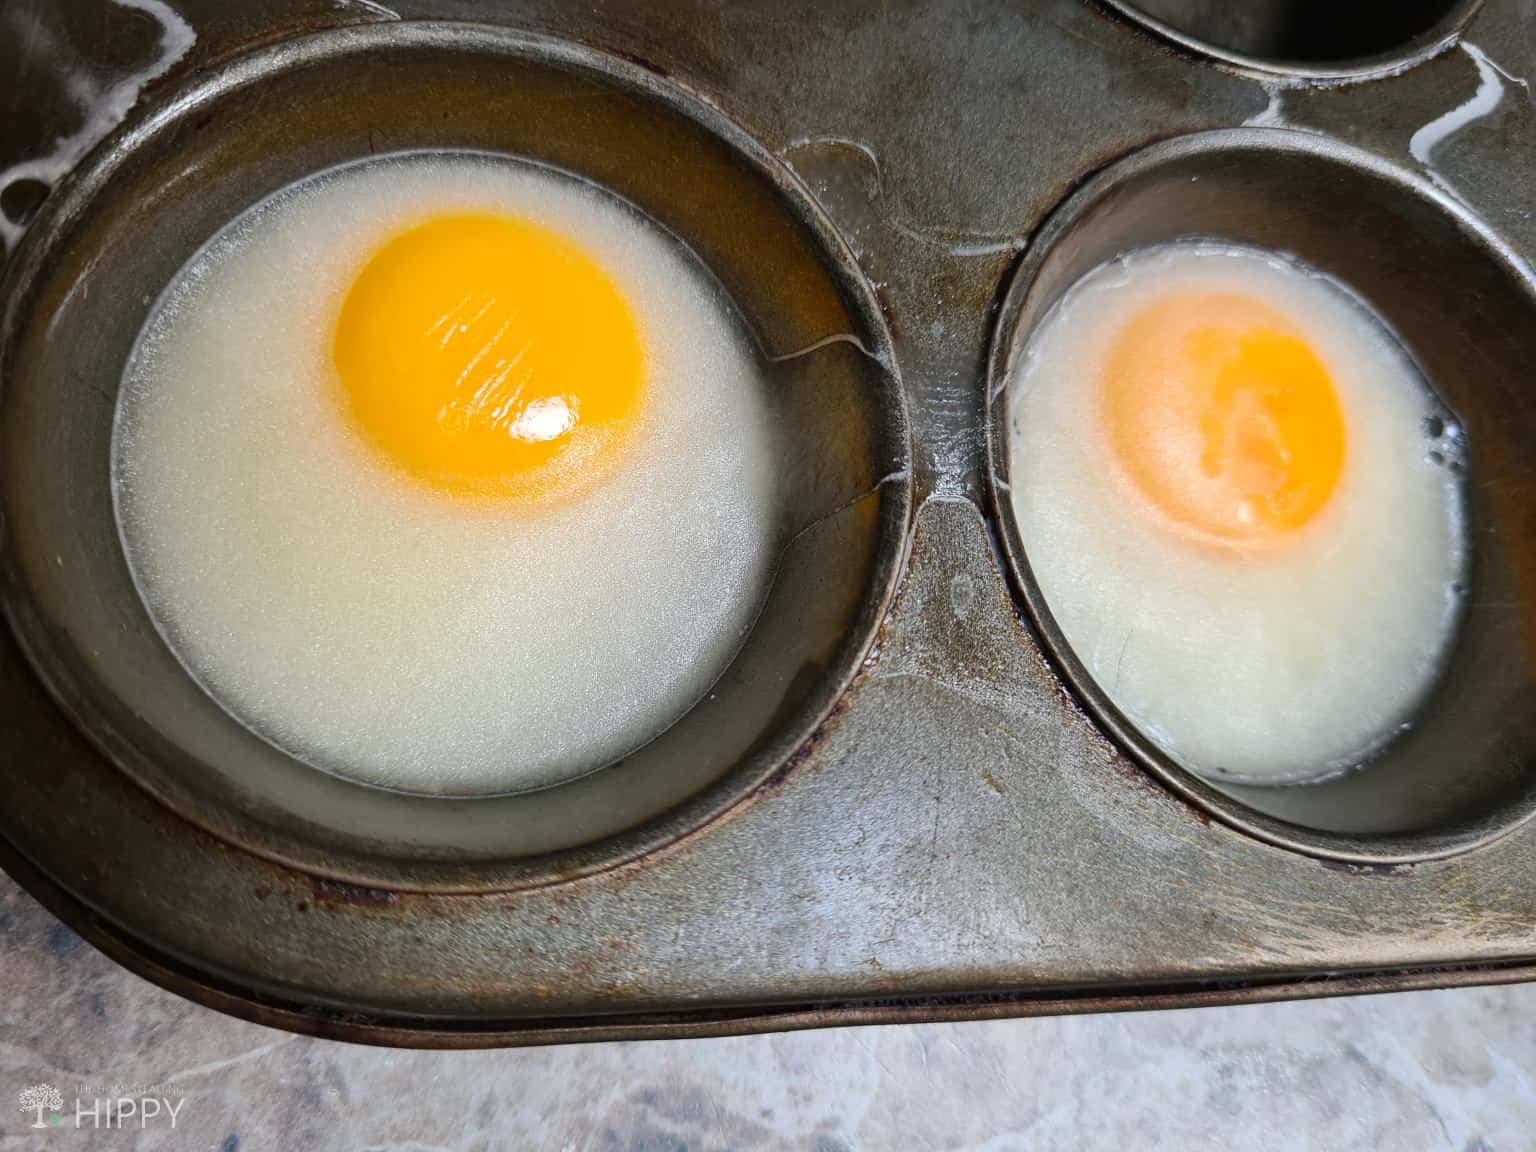
Freeze Extra Eggs for Use Later
To freeze eggs, you must take them out of their shells as the eggshells do not freeze well. Break open the eggs, cracking one in each cup of a muffin pan. Place the pan in the freezer until the eggs are frozen.
Once they are frozen, place the frozen eggs in a watertight container, zip lock bag, or vacuum seal bag and then place the container in the deep freeze. Always label the container so that you always use the eggs that have been frozen first.
Peel an Onion Quickly
Cut the ends off of the onion and then make a shallow cut down one side of the onion. Cut only the outer layer. Now you can peel the outer layer off of the onion with one tug. Less time spent and fewer tears.
Peeling the Outer Layer of the Onion is Never Easier; Just Cut the Ends Off, make a Shallow Cut Down the Side That Cuts Only the Outer Layer and Peel it Away
Adjust Your Diet
The vegetarian in me is jumping up and down with delight, but the carnivores in my family raise an eyebrow when I get started on this. But how perfect is it! You can literally eat your garden!
Of course, you can eat meat – if you want – but if you are growing vegetables then adapt your diet around what you are planting. You can have a truly diverse source of healthy food at little to no cost.
Eggs are a good source of protein. You can milk a cow or goat for your daily milk use. Could life get any better?
Hold on to your money!
Waste Not Want Not
Even eggs can be frozen. Blanch vegetables and freeze or can them for lean months. All the extras can be sold if they have been preserved properly.
Freeze meat in vacuum seal bags to prevent freezer burn and to make it last. Make sure you have enough for your family and sell the rest. Remember, you want your homestead to fund itself by any means possible.
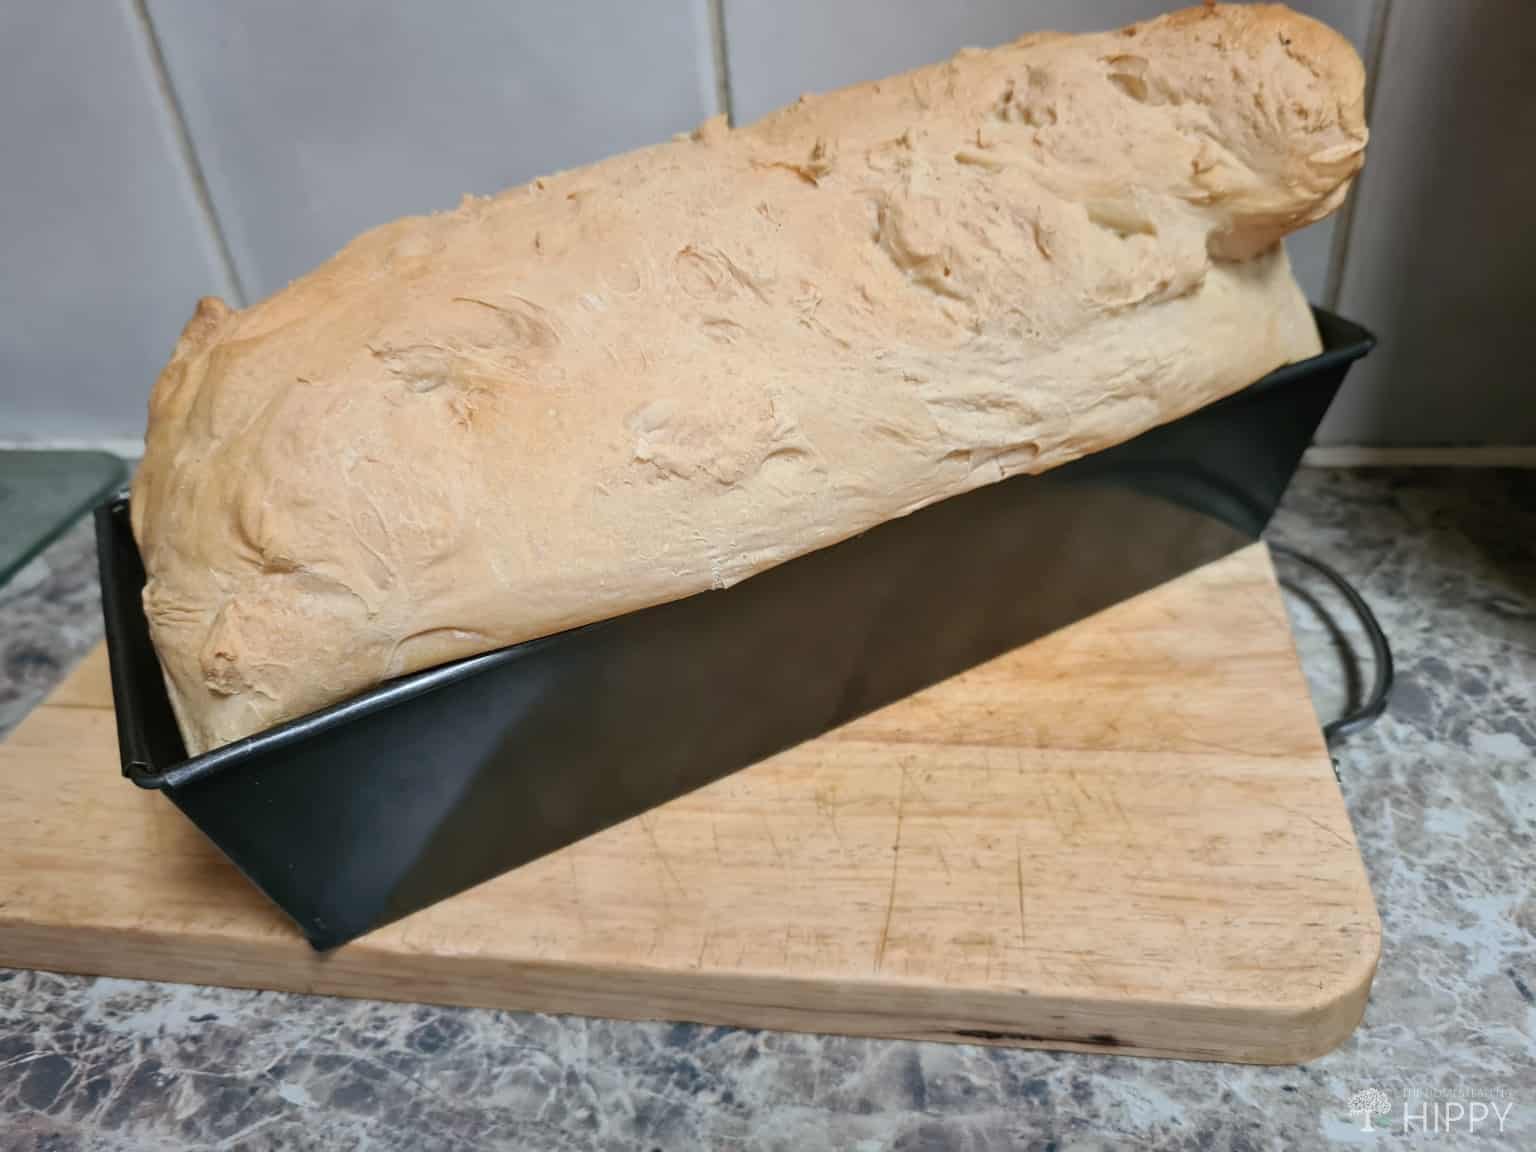
How to Make Dough Rise Faster
I find the best way to make my dough rise faster is by putting the dough in the bread tin I will bake the loaf in.
I then roll the whole pan in a towel or kitchen towel (preferably a dark colored towel as dark colors lock in the heat better) and place it in the sun for an hour.
The sun provides good heat, and the towel keeps the moisture in. I live in South Africa, so we have plenty of sunlight – even in winter.
If you do not live in a sunny area, place foil over the baking pan and place it in the oven on its lowest setting; this will cause the moisture to interact with the heat of the oven and rise quickly. Once it has risen sufficiently, you can take the foil off and bake it as usual.
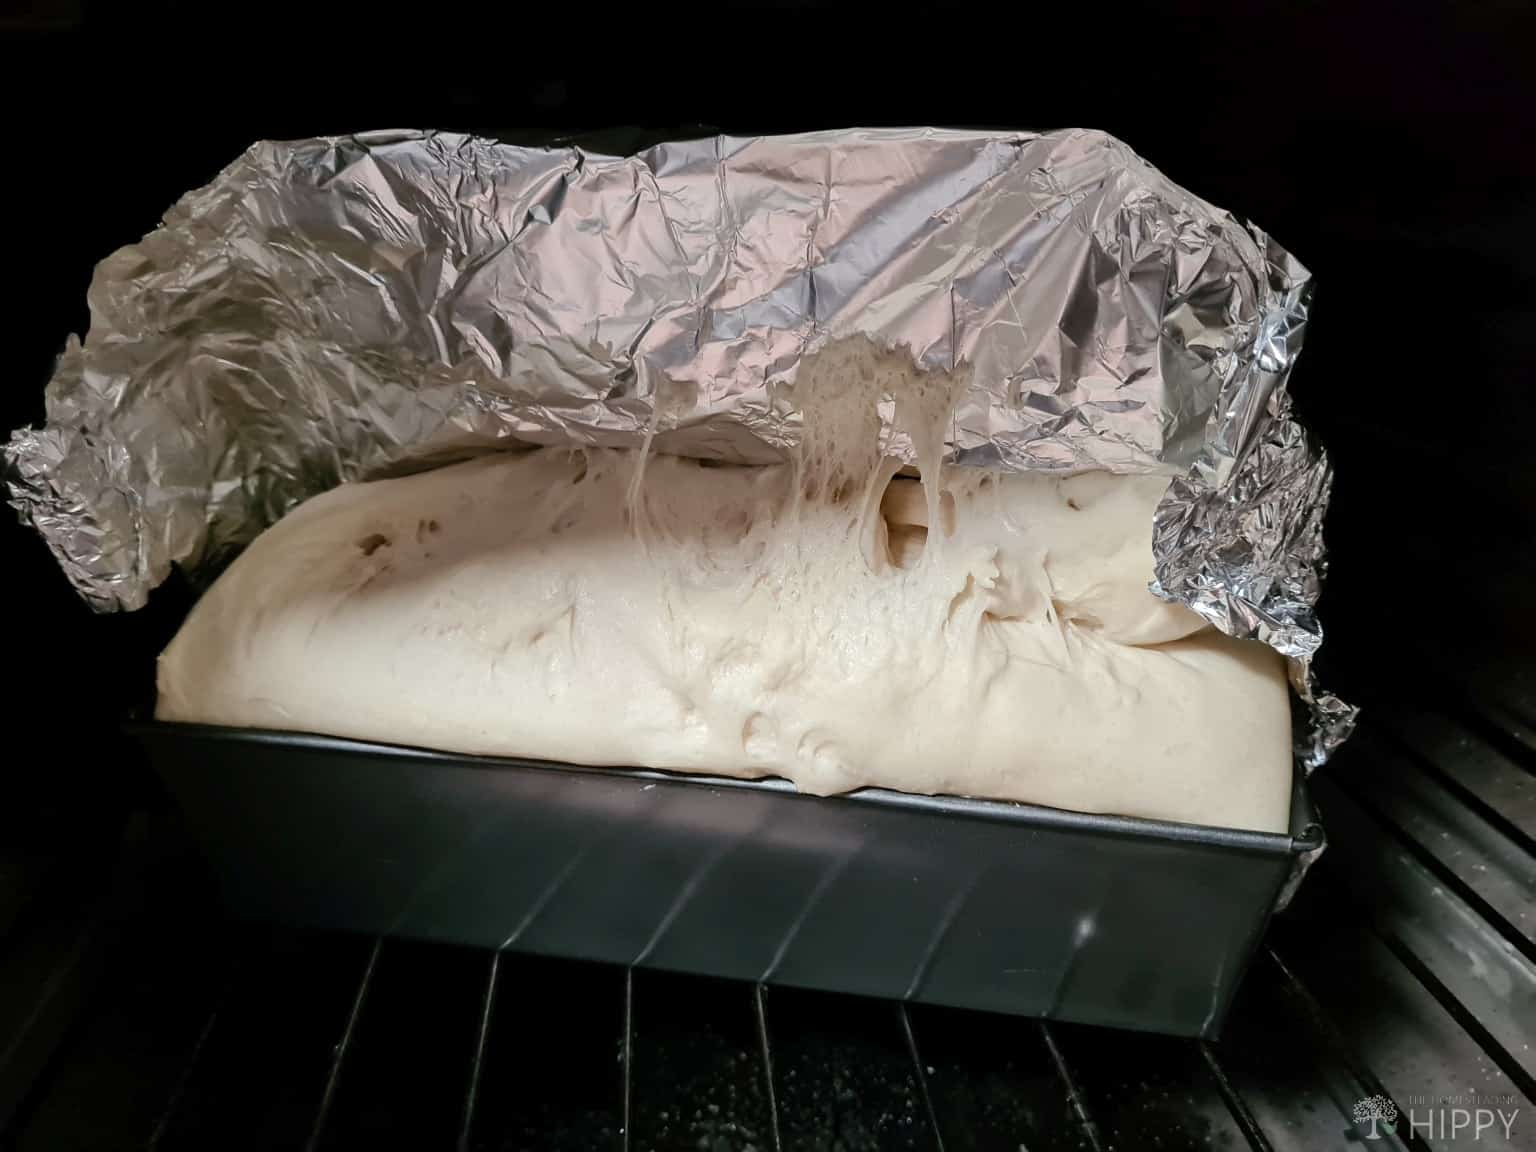
When I placed this loaf in the oven to rise, I sprayed Spray and Cook on one half of the foil and left the other side without a barrier. Can you guess which side had no spray and cook?
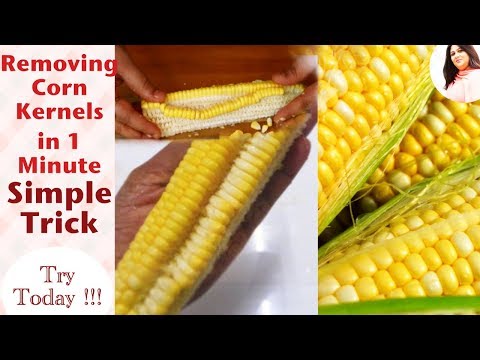
Quickly Remove Corn from the Cob
There are many ways to remove corn from the cob. The lady in the video tutorial below will show you the very best way to remove corn from the cob quickly and easily. It literally takes 1 minute to do once you get used to doing it this way.
Having lost so much corn removing kernels the way my grandmother removed kernels – scraping the cob with a sharp knife – I will never again use any method other than the method explained in the video.
I grow a lot of corn because we are a corn-eating clan. I have been using this method for more than 2 years now and I can assure you it takes a minute per cob to harvest all the corn without any waste.
Store Dry Goods Correctly
For dry goods you need to protect them properly from moisture and air.
I always prefer using glass because it can be recycled and is not harmful to the environment, but old soda bottles are also great for storing rice, flour, and other dried goods.
Make sure you wash them properly and that they are completely dry before you put your goods in them.
Grow Herbs in Your Kitchen
Growing herbs in your kitchen is as easy as potting them and leaving them on a windowsill or a shaded countertop if they are light sensitive. This means you can harvest exactly what you need to cook fresh from your kitchen as needed.
How to Decant Honey, Syrup, or Other Sweeteners Without Making a Mess
Spray or brush a little oil on the top of the jar and then pour the honey or sweetener without making a mess when you are done pouring.
Quickly Measure Solid Oil
Multiply the amount of oil you want by 2 and then add that much cool water into a measuring cup. Using a knife, add oil to the water in small increments. Hold the oil under the water without pressing the oil to the bottom of the measuring cup.
Add small amounts of oil to the water until the amount of oil is the same as the amount of water in the measuring cup. This will give you an accurate measure of oil. Hold a spoon to the keep the oil in the measuring cup as you strain the water out of the cup.
Use Mason Jars as Measuring Cups for Liquids
Measuring jars are a quick accurate way to measure liquids. You need to use the right size jar or use a small jar repeatedly until you have the correct quantity of liquids.
A ½ pint jar holds 1 cup of liquid; a pint jar holds 2 cups of liquid; a quart jar holds 8 cups of liquid; and a half gallon jar holds 8 cups of liquid.
Freeze Lemon Juice and Apple Sauce for Future Recipes
Freeze lemon juice in ice cube trays. Once frozen you can place the frozen cubes in zip lock bags or other watertight containers.
I Make My Own Apple Sauce and Freeze It for the Table, My African Greys Also Love Apple Sauce So Freezing Small Amounts is Ideal for Giving Them the Correct Size Portions
How to Test Your Eggs for Freshness
Eggs are easily mixed together in the fridge if you do not keep track of them. To test the freshness of your eggs, fill a bowl with room temperature water and place the eggs in the water.
If eggs float on the top, they are old but probably are still edible. If the eggs sink to the bottom and stand upright, they are fresh enough for use. If the eggs sink to the bottom and lie down on their side, they are very fresh and will be delicious.
Learn to Can and Dehydrate
Canning and or dehydrating is a great way to preserve fruit, jam, meat, and vegetables for the cold winter months when nothing grows under the layers of snow.
Remember to label the food indicating what it is and when it was dehydrated or canned. Dehydrating or canning may take time, but it is time well spent as you can do either in bulk to keep your pantry well stocked all year round.
Conclusion
Homesteading can be a hit and miss process but listening to how other homesteaders do things can be very helpful. I never take any advice without googling it.
You can easily distinguish proven solutions from old wife’s tales. If there is any possibility that a fellow homesteader’s advice may work, I give it a go on a small scale first to assure myself that the tip will work.
Over the years I have learned so many hacks for homesteading that take half the time and effort.
I hope that you have gained a lot of quick fixes in this article and that these words of advice will help save you time, money, and effort on your homestead.
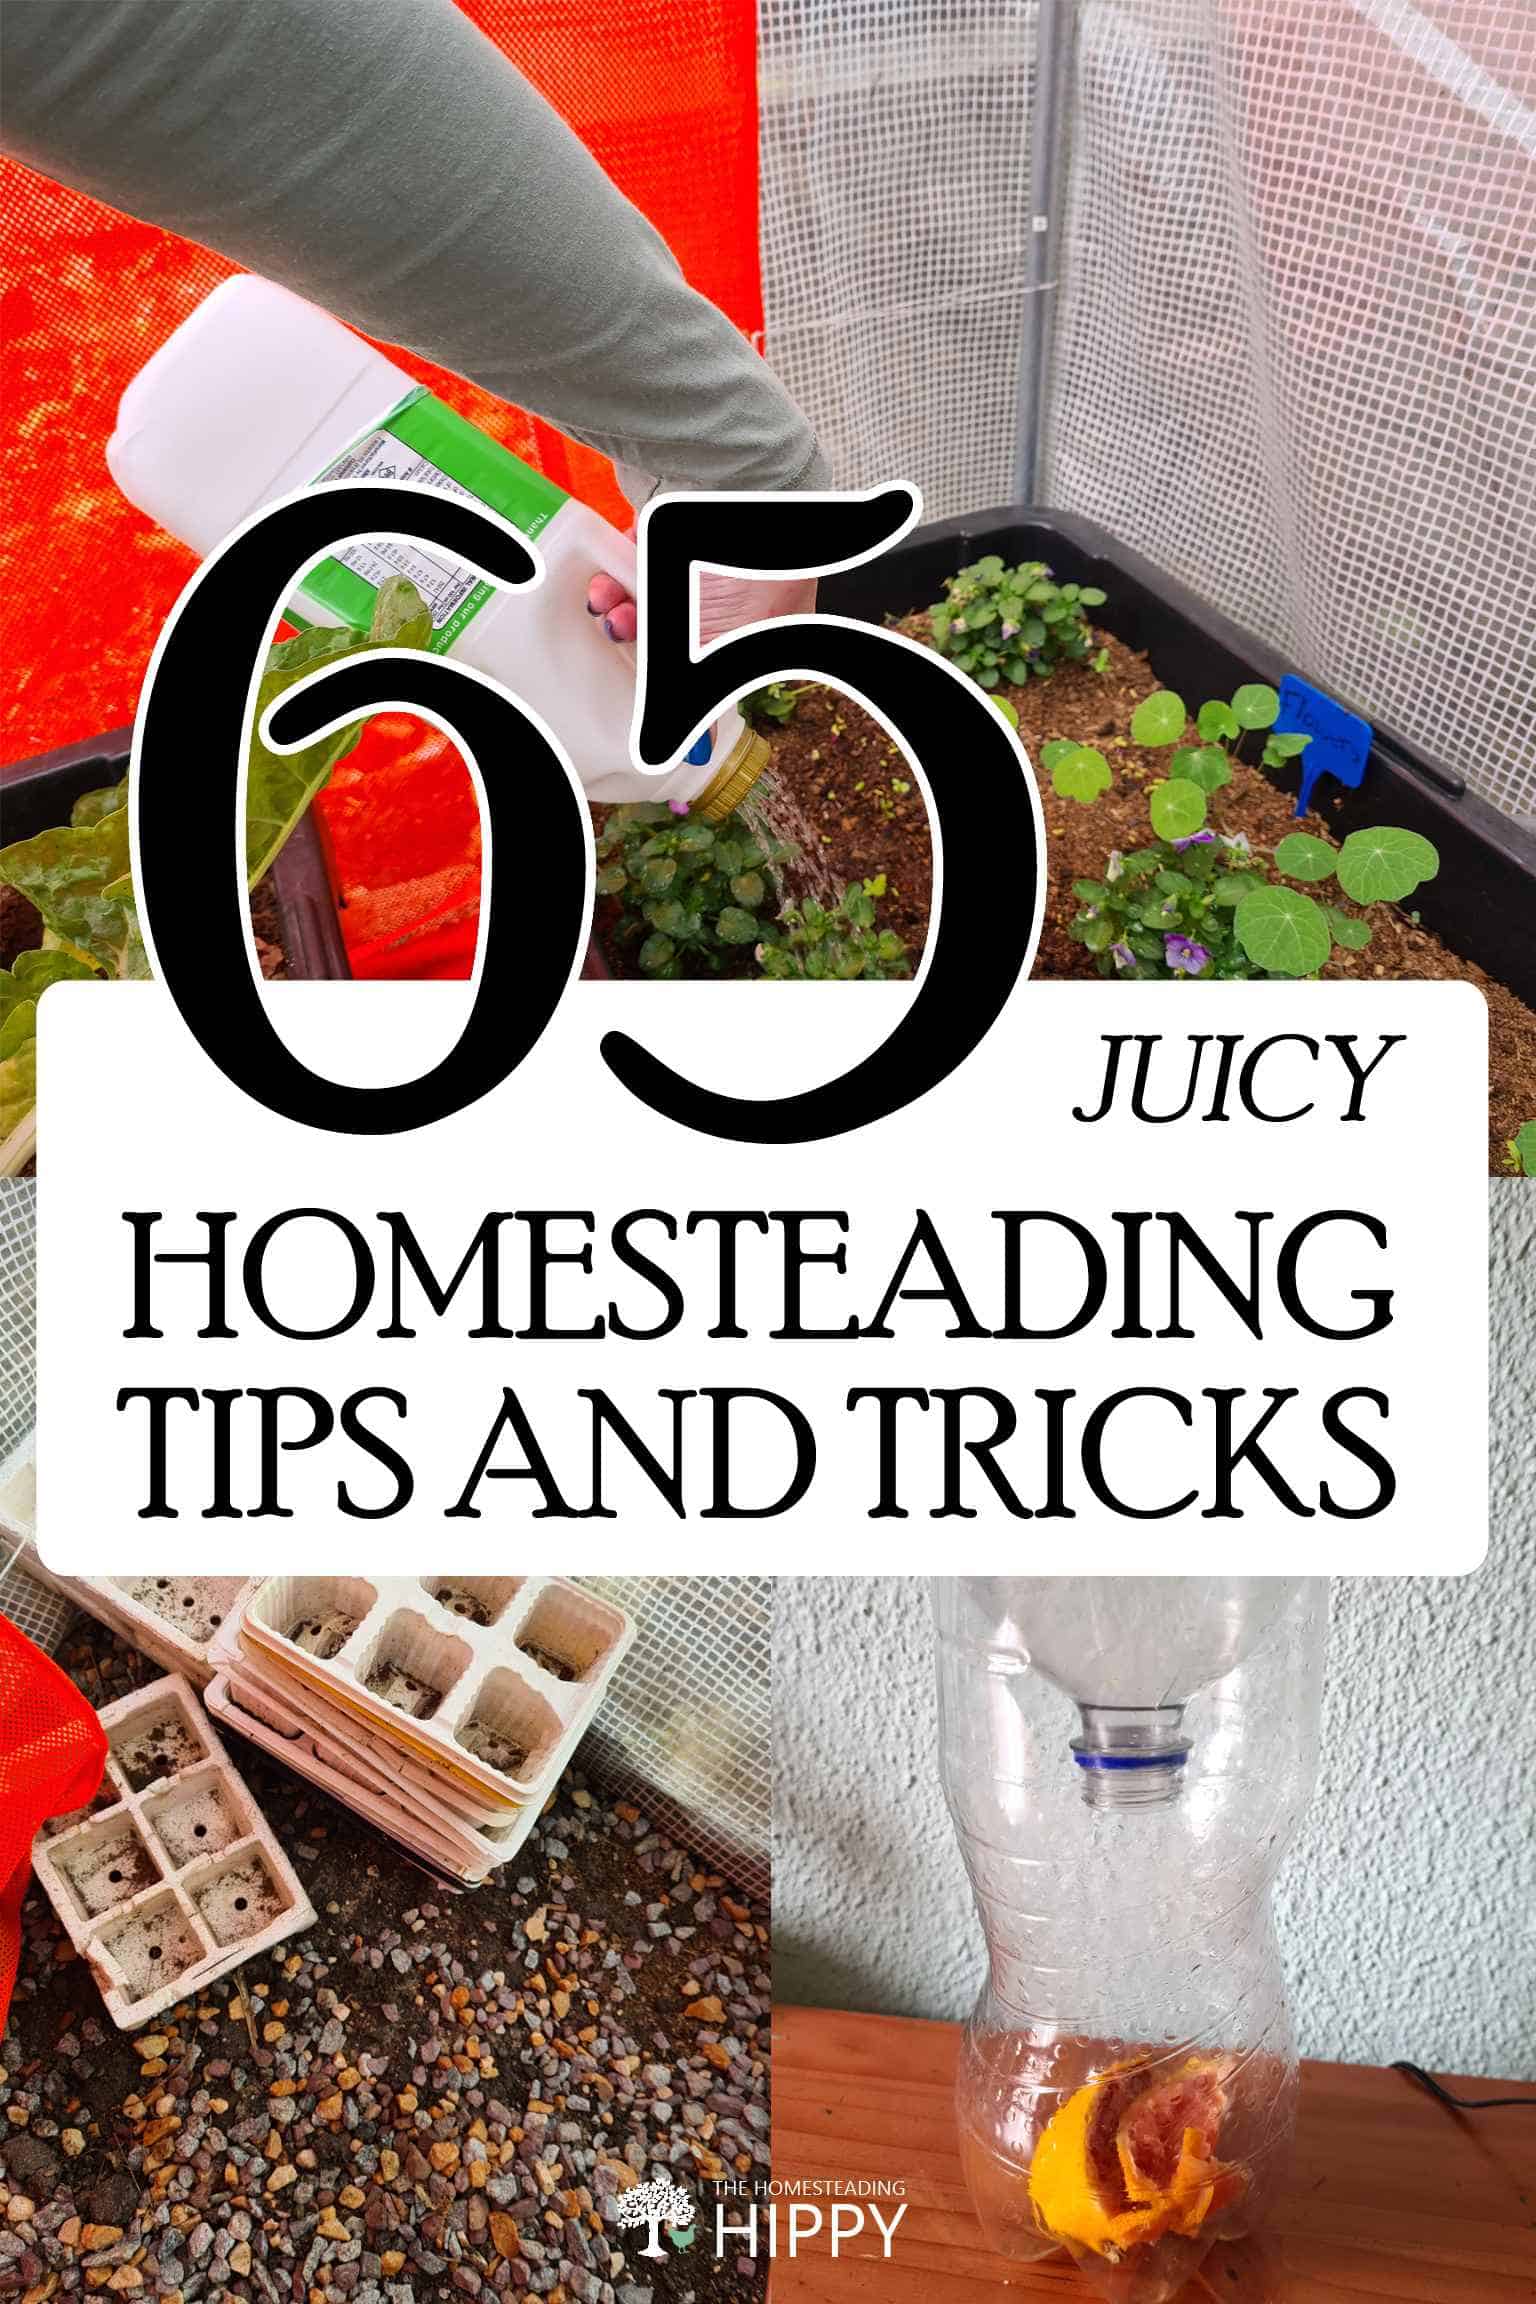
The post 65 Juicy Homesteading Tips and Tricks appeared first on The Homesteading Hippy.